One topic likely to cause a stir and bring out the purists with their pitchforks and torches is whether or not to work in manual mode on your camera. While there is definitely a case for learning to work in manual mode and understanding how your exposure works, other modes on the camera are most certainly valid ways to work as well. Each has its place and is useful for different situations. In the end, nobody is going to analyse your method if your message is strong enough. Using the tools at hand to create the photographs you want to is the most important thing. So, today, I’d like to make a case for working in aperture priority with auto ISO enabled.
Why manual?
Let’s start with full manual mode. This mode gives you full control over every aspect of your exposure and is a great way to learn not only how the camera works but how exposure works. It is an excellent tool for understanding photography and the tools we use to do it.
It is also a great tool for creating repeatable results. Since you have set all the parameters of your exposure and locked them, the camera cannot react to changes in light in the scene and change your exposure. This is especially useful when you need to merge multiple images easily in post-production, create a panorama or pre-set your exposure for an upcoming event.
Before we had electronic viewfinders to show us the exact exposure we’d be recording before we even pressed the shutter, manual mode was an excellent way to know that you had everything set and could photograph your scene with predictable results. These days, the EVF or rear screen of our mirrorless cameras allows us to preview the exposure and this is no longer a concern. This image preview has made modes other than full manual far more predictable ways to work.

Working in manual mode made sense for this stitched panorama of the Taj Mahal. Each image needed to have the same exposure so that the image would stitch well in post production. // GFX 50R + Mitakon 65mm f/1.4 (1/250, ~f/5.6, ISO 200)
Why Aperture Priority?
Of the three main controls we have over our exposure, I firmly believe that the aperture is the one that offers us the most creative control. With it, we are able to control depth of field, how sharp certain areas of the frame will be, how long our shutter should remain open and even how much of a vignette our lens will introduce. It gives us far more control over the look of the final image than a setting like ISO. For these reasons, Aperture Priority is the mode outside of full manual that I use the most.
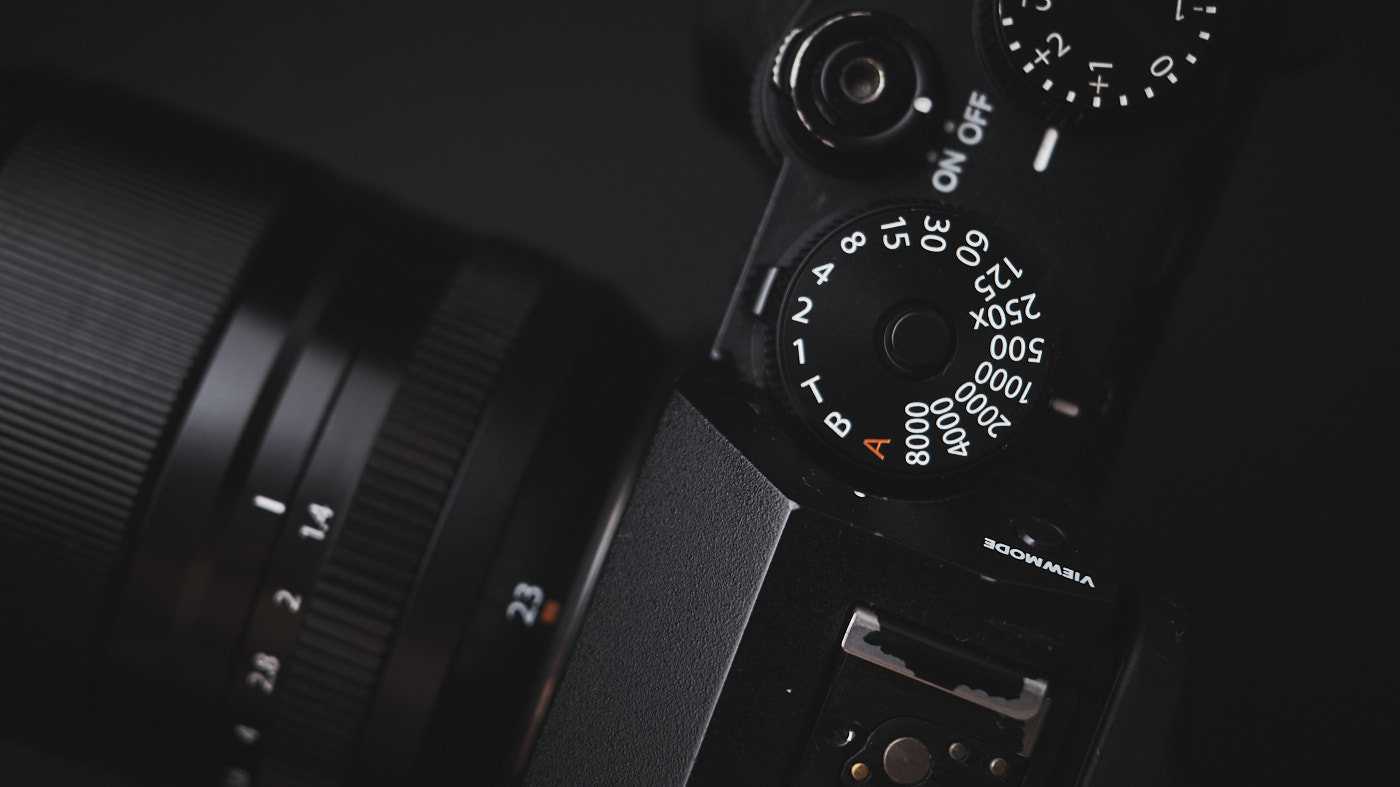
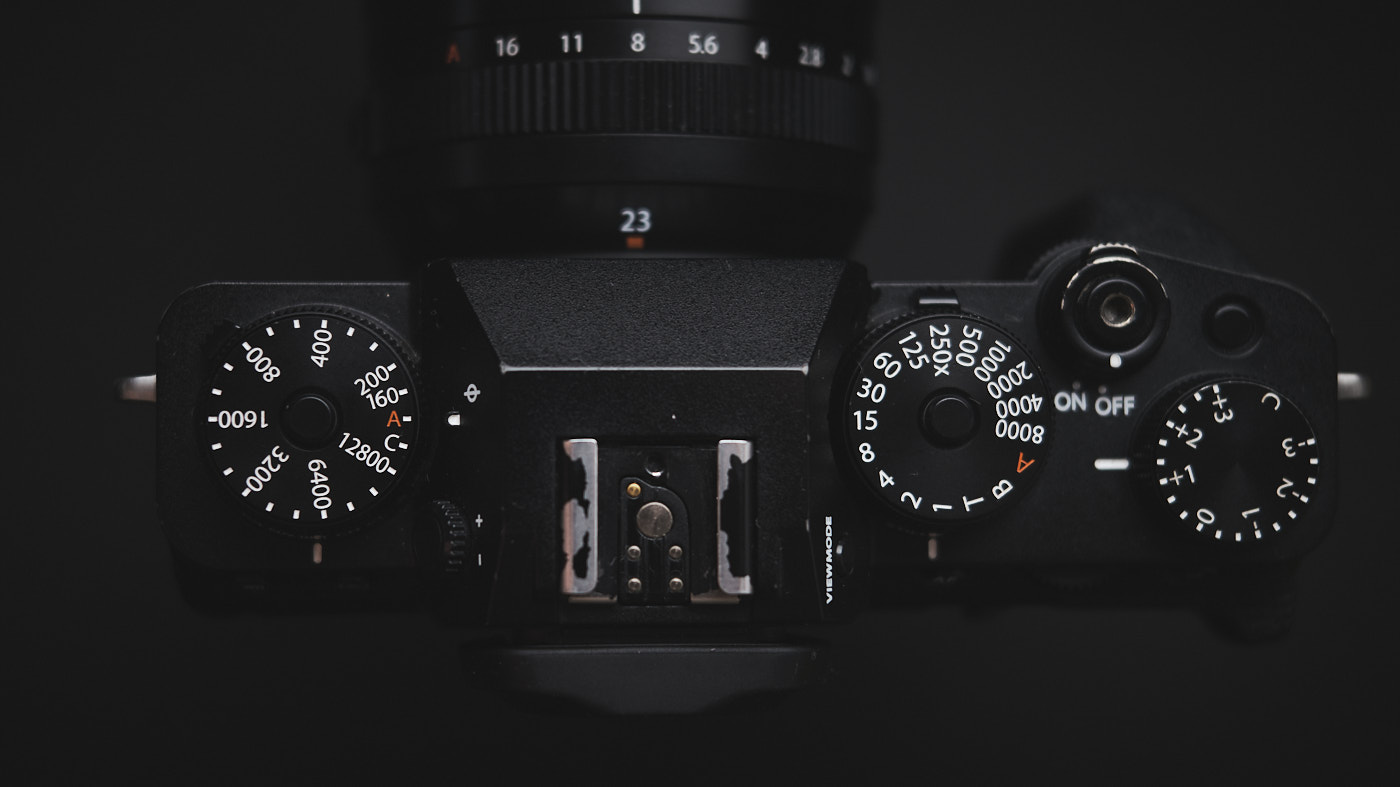
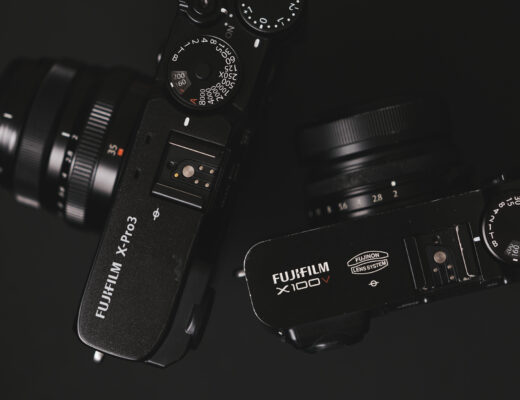
To access Aperture Priority on the majority of Fujifilm Cameras, the shutter speed dial should be set to A and the aperture to whatever value we wish to use. Certain bodies, like the GFX 50S II or X-S10, have a PASM dial. When this is set to A, we will also be in aperture priority mode. Setting this passes control of the shutter speed over to the camera and allows us to concentrate more fully on aperture, composition and the scene in front of us.
Since we now have an EVF or rear screen to preview the exposure that will result from our current settings, we don’t get any surprises from the camera’s metering system as we might have in the past. In order to make the resulting image brighter or darker, all we need to do now is use the exposure compensation dial on the camera. A preview of the image is displayed on the screen and we can easily judge if we’ve got the exposure we desire.
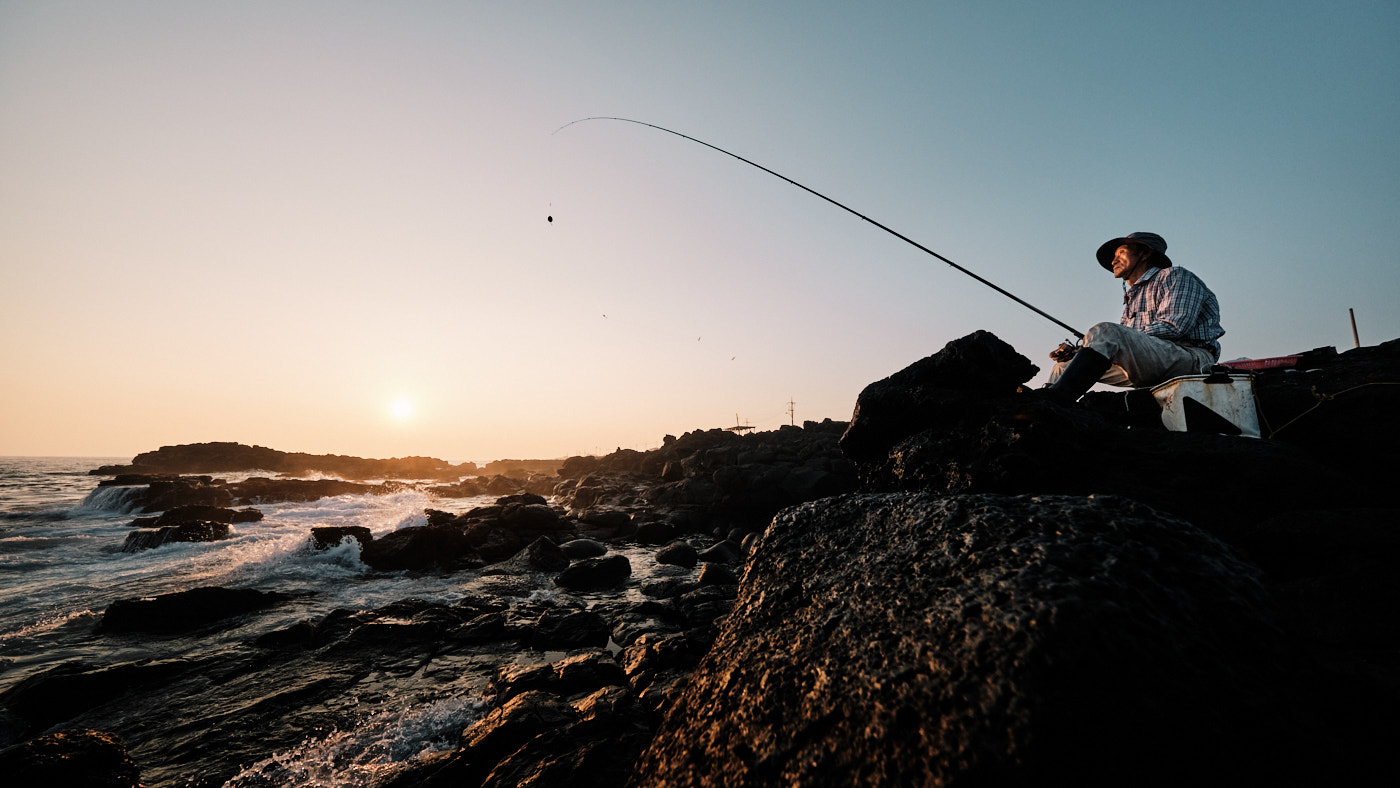
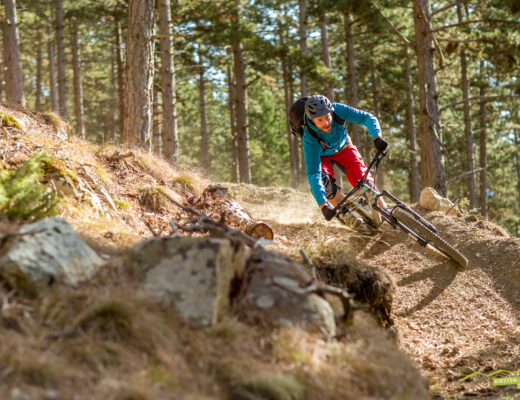
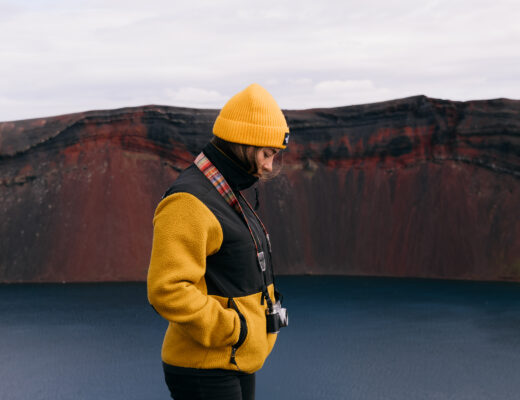
Aperture priority makes sense for me here as the light is changing and I’m constantly moving around on razor-sharp, wet volcanic rocks. I’d rather focus on the image than changing my settings every time the light changes or I move. // X-T3 + XF 8-16mm f/2.8 (1/500, f/8, ISO 320)
Taking it one step further: Auto ISO
Since we can now have a real-time preview of exactly how our images will turn out, we can even hand control of the ISO over to the camera in many situations. It’s ‘what you see is what you get’.
On cameras that have an ISO dial, Auto ISO can be enabled by setting the ISO dial to the “A” position. For bodies that don’t have an ISO dial, this can be set in the ISO menu or by adding ISO to a function button or the Q menu and then scrolling through until one of the AUTO ISO modes is selected. The settings for individual AUTO ISO selections can also be adjusted in the menu, allowing us to set a minimum and maximum ISO value, along with a minimum shutter speed to use before the camera begins to increase the ISO value.
I’m a believer in setting Auto ISO for any time when it doesn’t really matter and the same goes for shutter speed. It allows us to focus on the look and feel of the rendering as well as the moments and composition without worrying about settings that may not affect your final result.
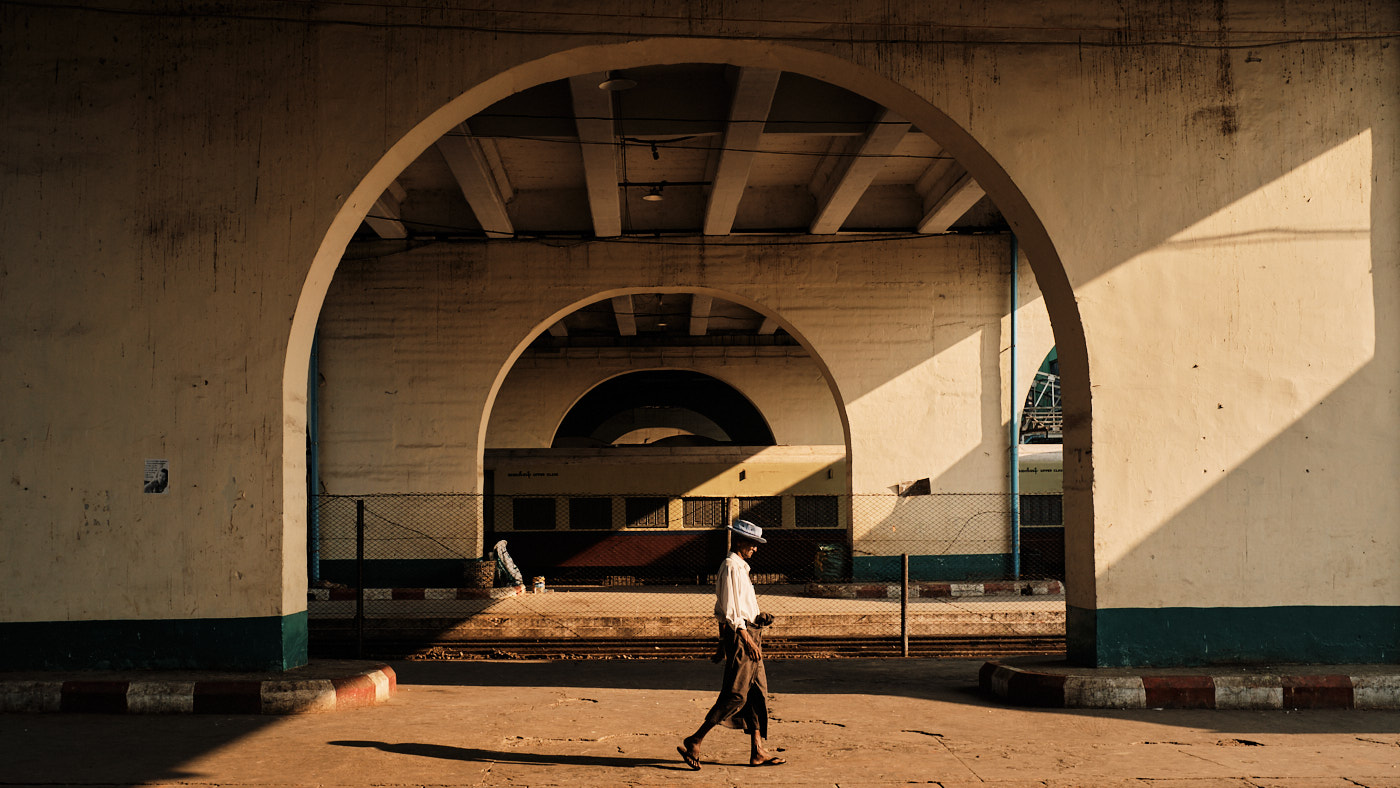
I ask you, would it have made a difference if I had manually selected the settings here? Would I have created a photograph with more impact? // X100F (1/250, f/5.6, ISO 320)
When do I use it?
As part of my client work, I photograph quite a lot of corporate events. Some required images at these events might be shots of a speaker on stage (lit by a spotlight) and then shots of audience reactions (in a dark room) in quick succession. For situations like this, I have an AUTO ISO setting ready to go. It has a minimum shutter speed of 1/125, since nothing is moving too fast, and a maximum ISO of 6400, since a little noise isn’t an issue in these situations.
By setting my shutter and ISO dials to A, I have handed control of these over to the camera and I only need to work with my aperture ring. In this case, that might be f/2 or f/2.8 for the speaker on stage to make sure I have plenty of detail in their face and enough legibility in the background to make out what is back there. On the other side, I’ll quickly switch to f/1.4 for the crowd shots as I’ll need as much light as I can get. This allows me to make only one change instead of three and quickly get multiple shots for my client.
I also frequently use it on my photo walks with friends. With the images I make at these times, there’s no need for absolutely noise-free images or the difference between 1/320 and 1/500 in most cases. I’d much rather be focused on the photography and enjoying my time with the camera than on changing multiple settings when I really don’t need to.
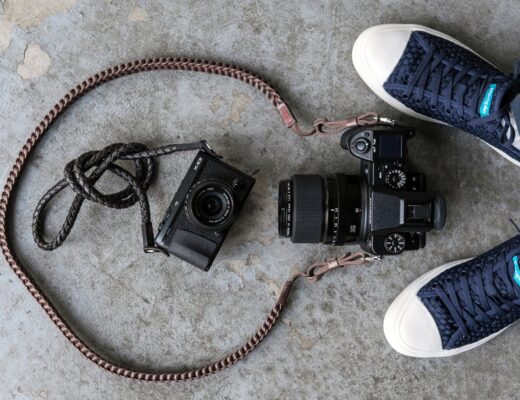
The other great thing about working this way is that if the camera I’m using has a shutter speed dial, I can quickly override the minimum shutter speed of my auto ISO setting by changing the shutter speed on the physical dial. For example, if I see a scene that would benefit from a longer exposure time, I can quickly change the shutter speed dial on my X100V to 1/15 and get some motion blur, knowing that that camera will take care of the ISO for me in the background.
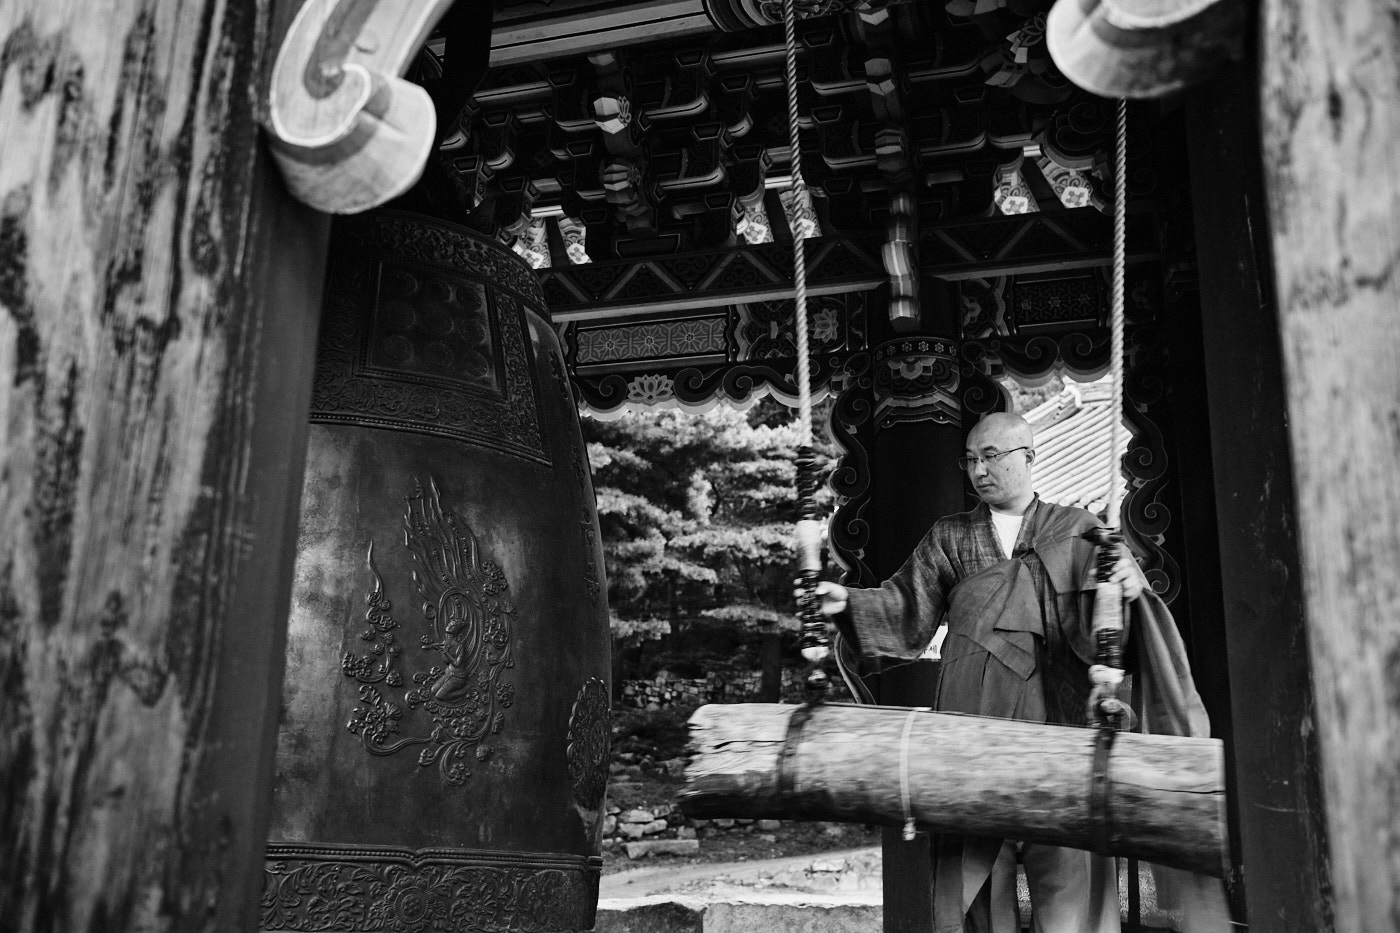
In a scene like this, which ISO value I use is almost inconsequential. My priority here was getting images at a variety of shutter speeds before the monk finished striking the bell. In this case, all I needed to do was move the shutter speed dial of my X100V from the A position to 1/30. // X100V (1/30, f/2.8, ISO 1600)
All of the modes in your camera are there because they have some sort of use. Don’t ever let anyone convince you that professionals only use manual and you should to or that any of the automatic modes are somehow lesser. Each has its place for certain situations and workflows.
Personally, I find that manual and aperture priority are my two go-to modes. How about you? Do you ever make use of the automatic modes? Do you avoid manual altogether? What works for you and your photography?
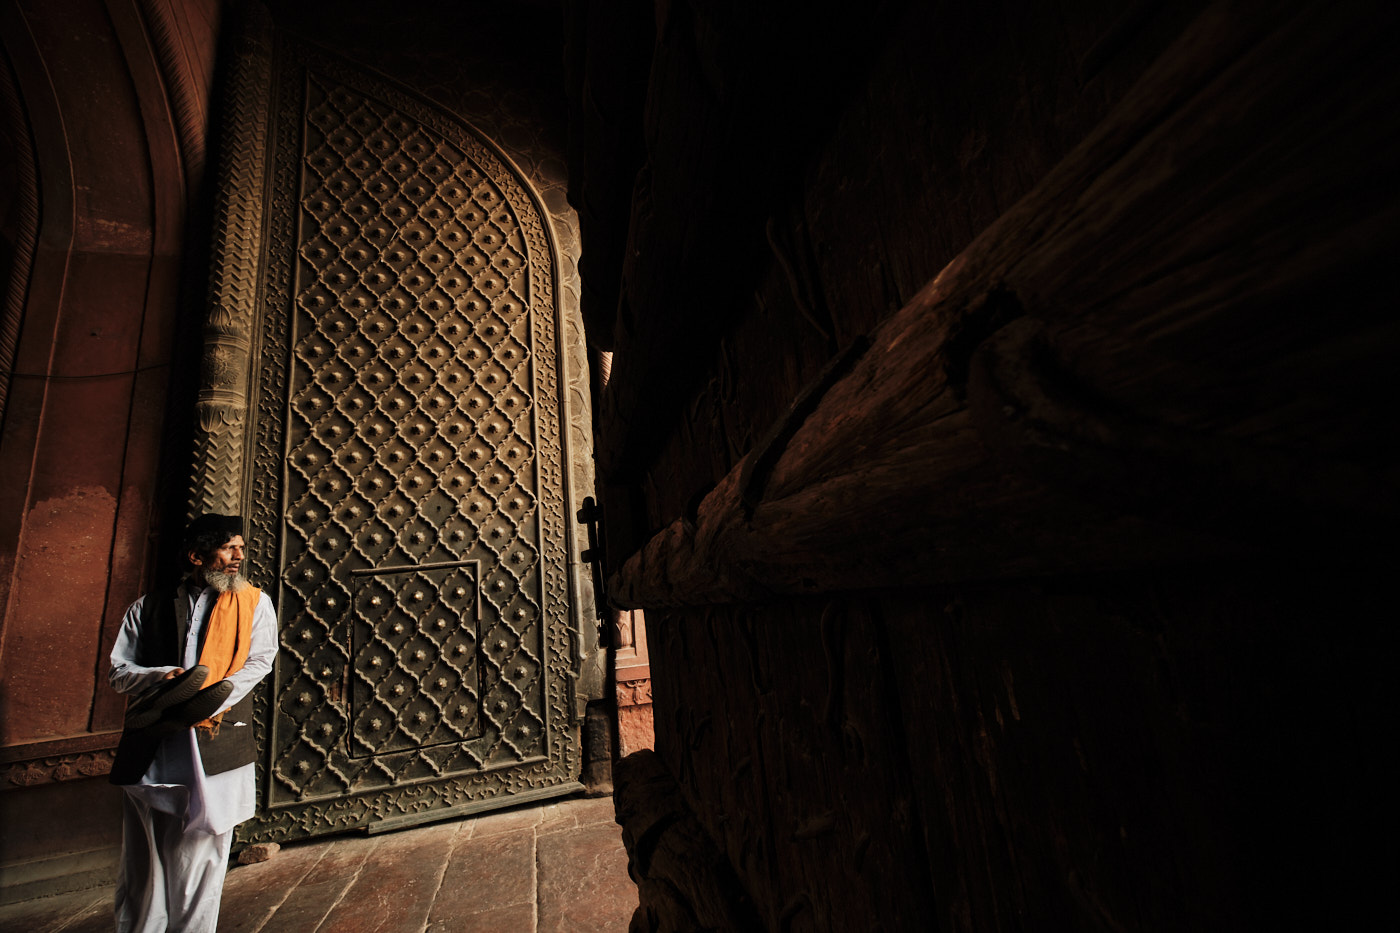
I’m fairly sure this man is looking out at that beautiful light wondering if I’ve manually chosen my settings or not, right? // X-T3 + Laowa 9mm f/2.8 (1/30, ~ f/8, ISO 400)


