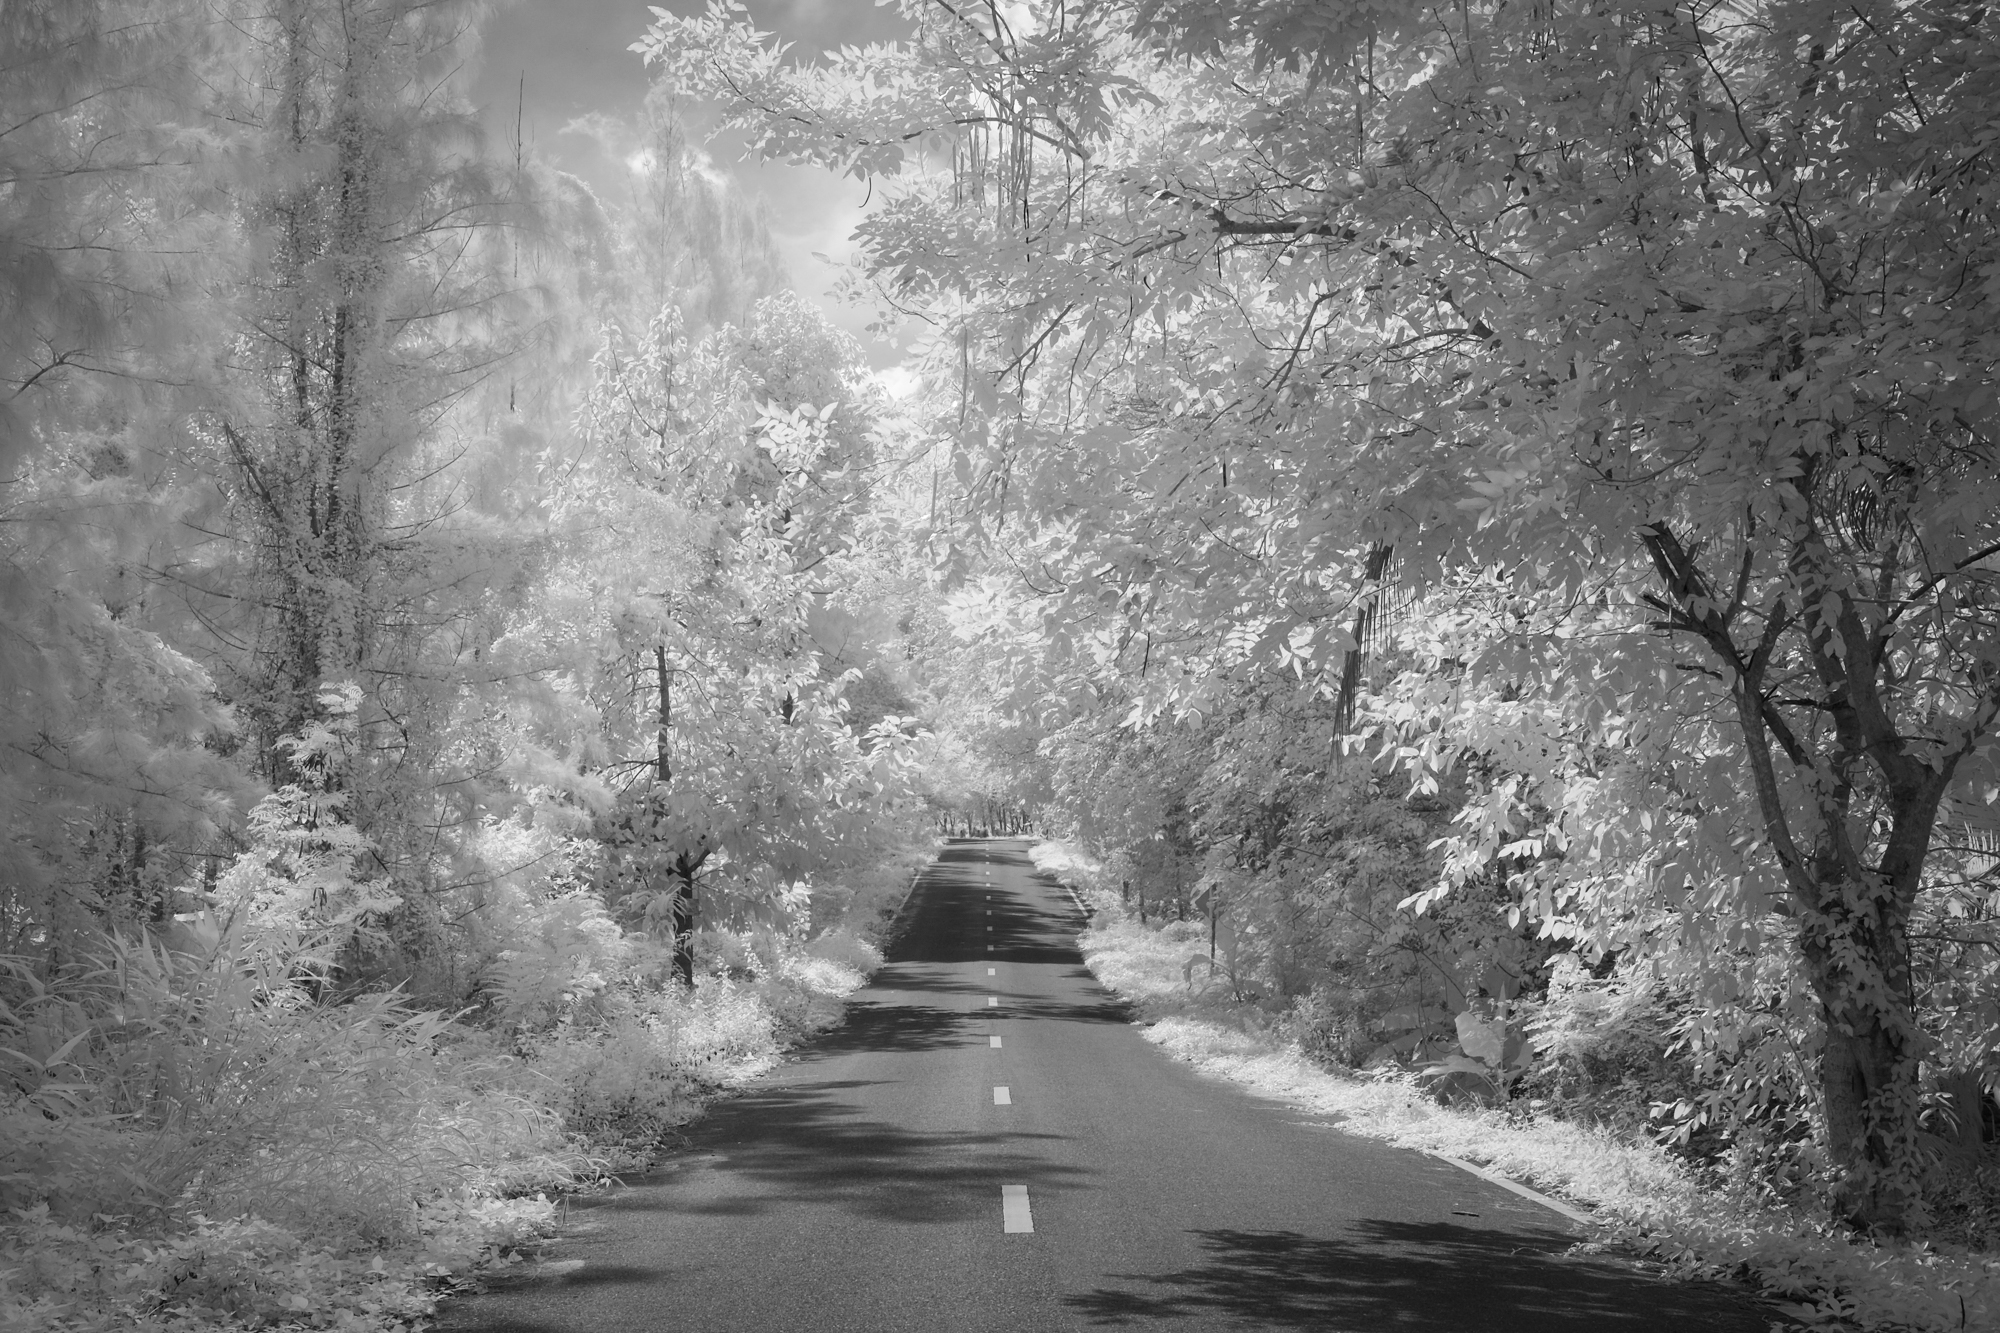
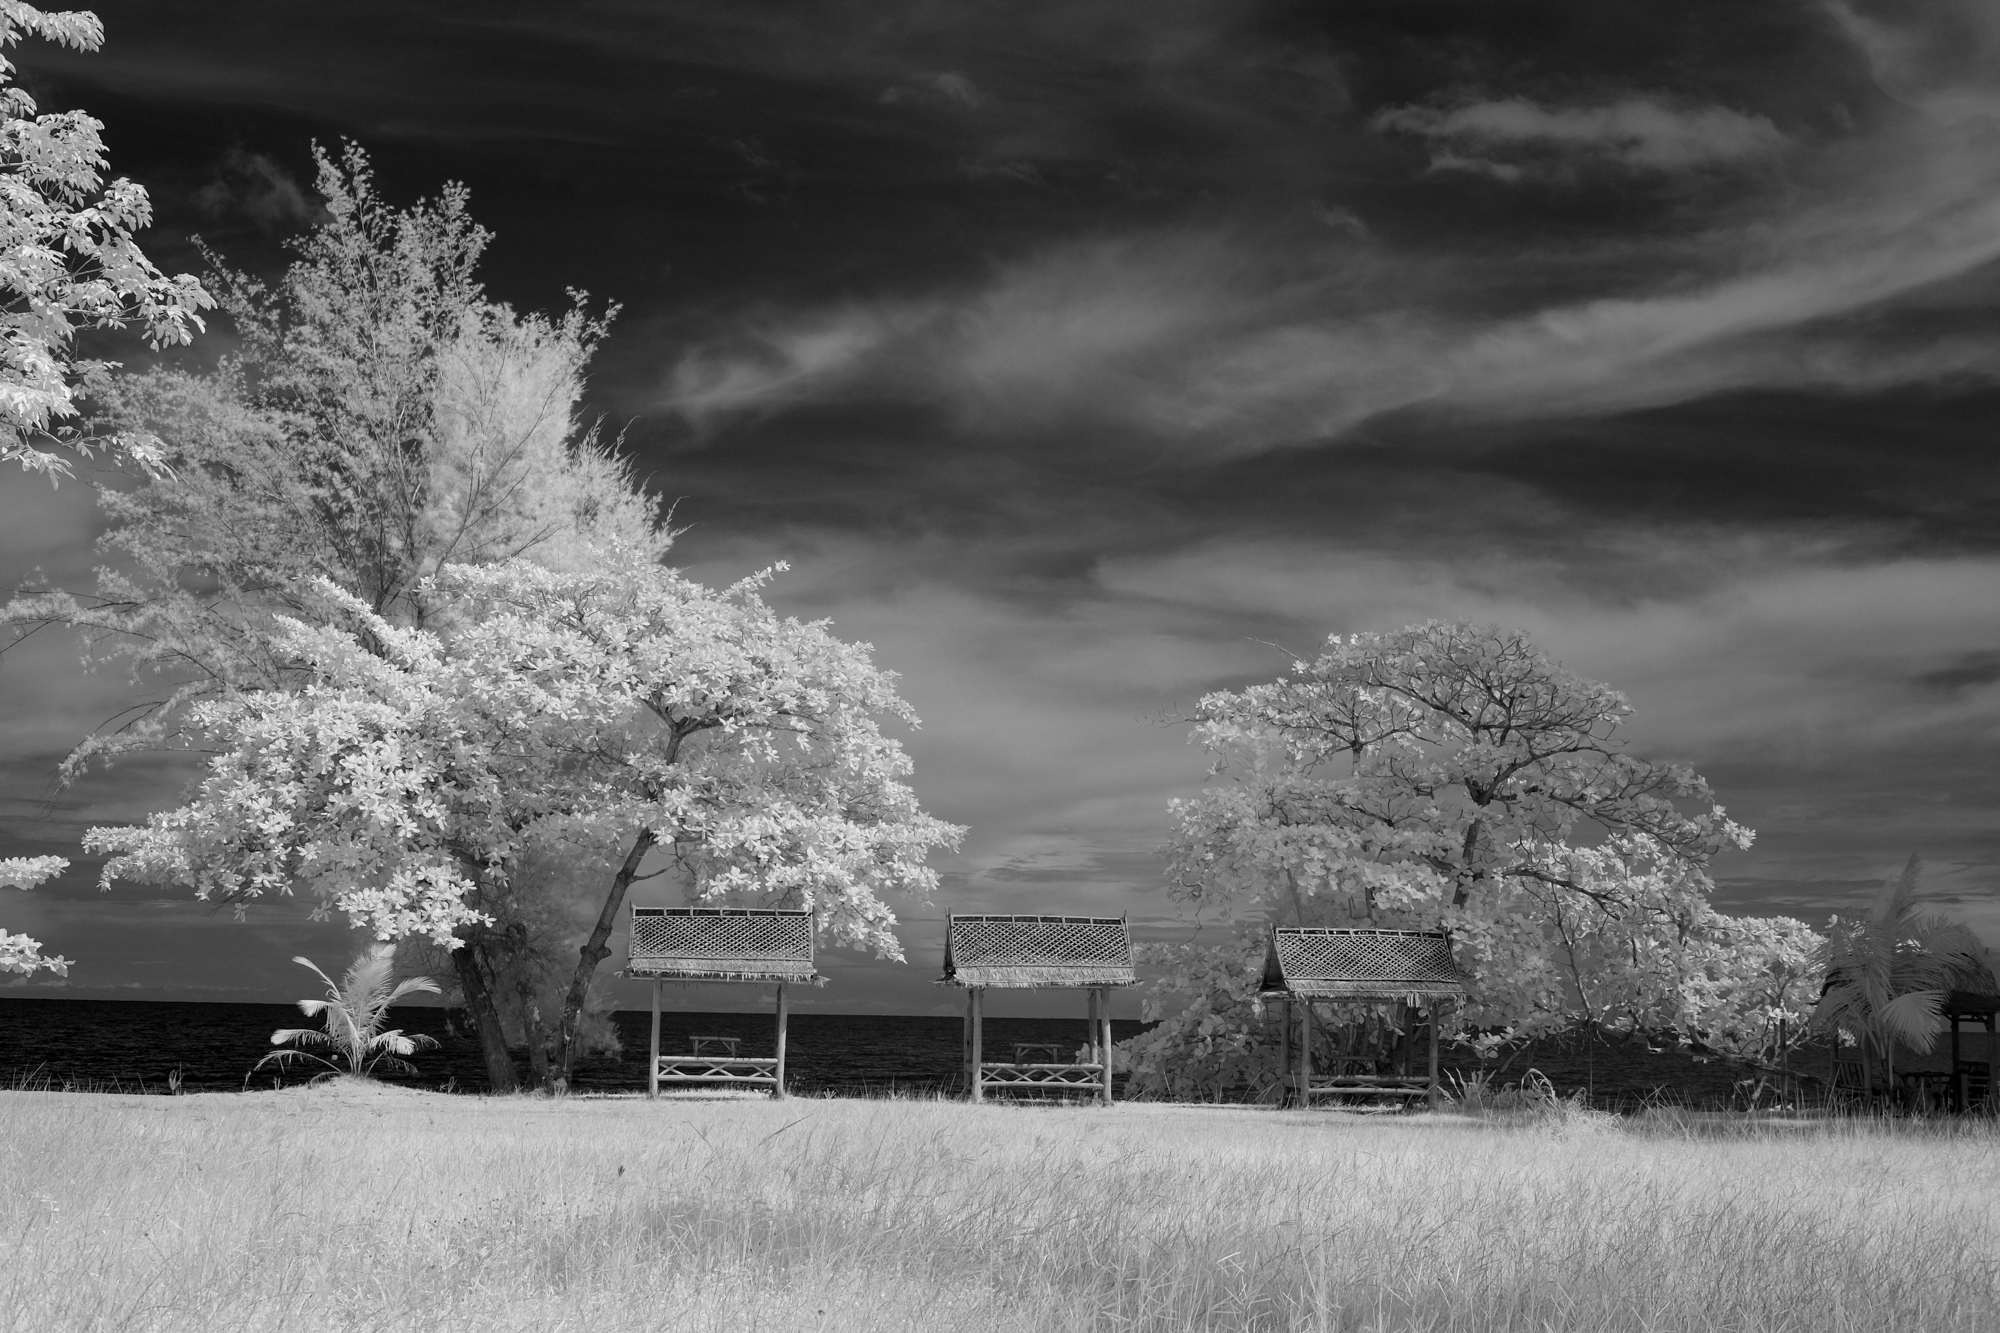
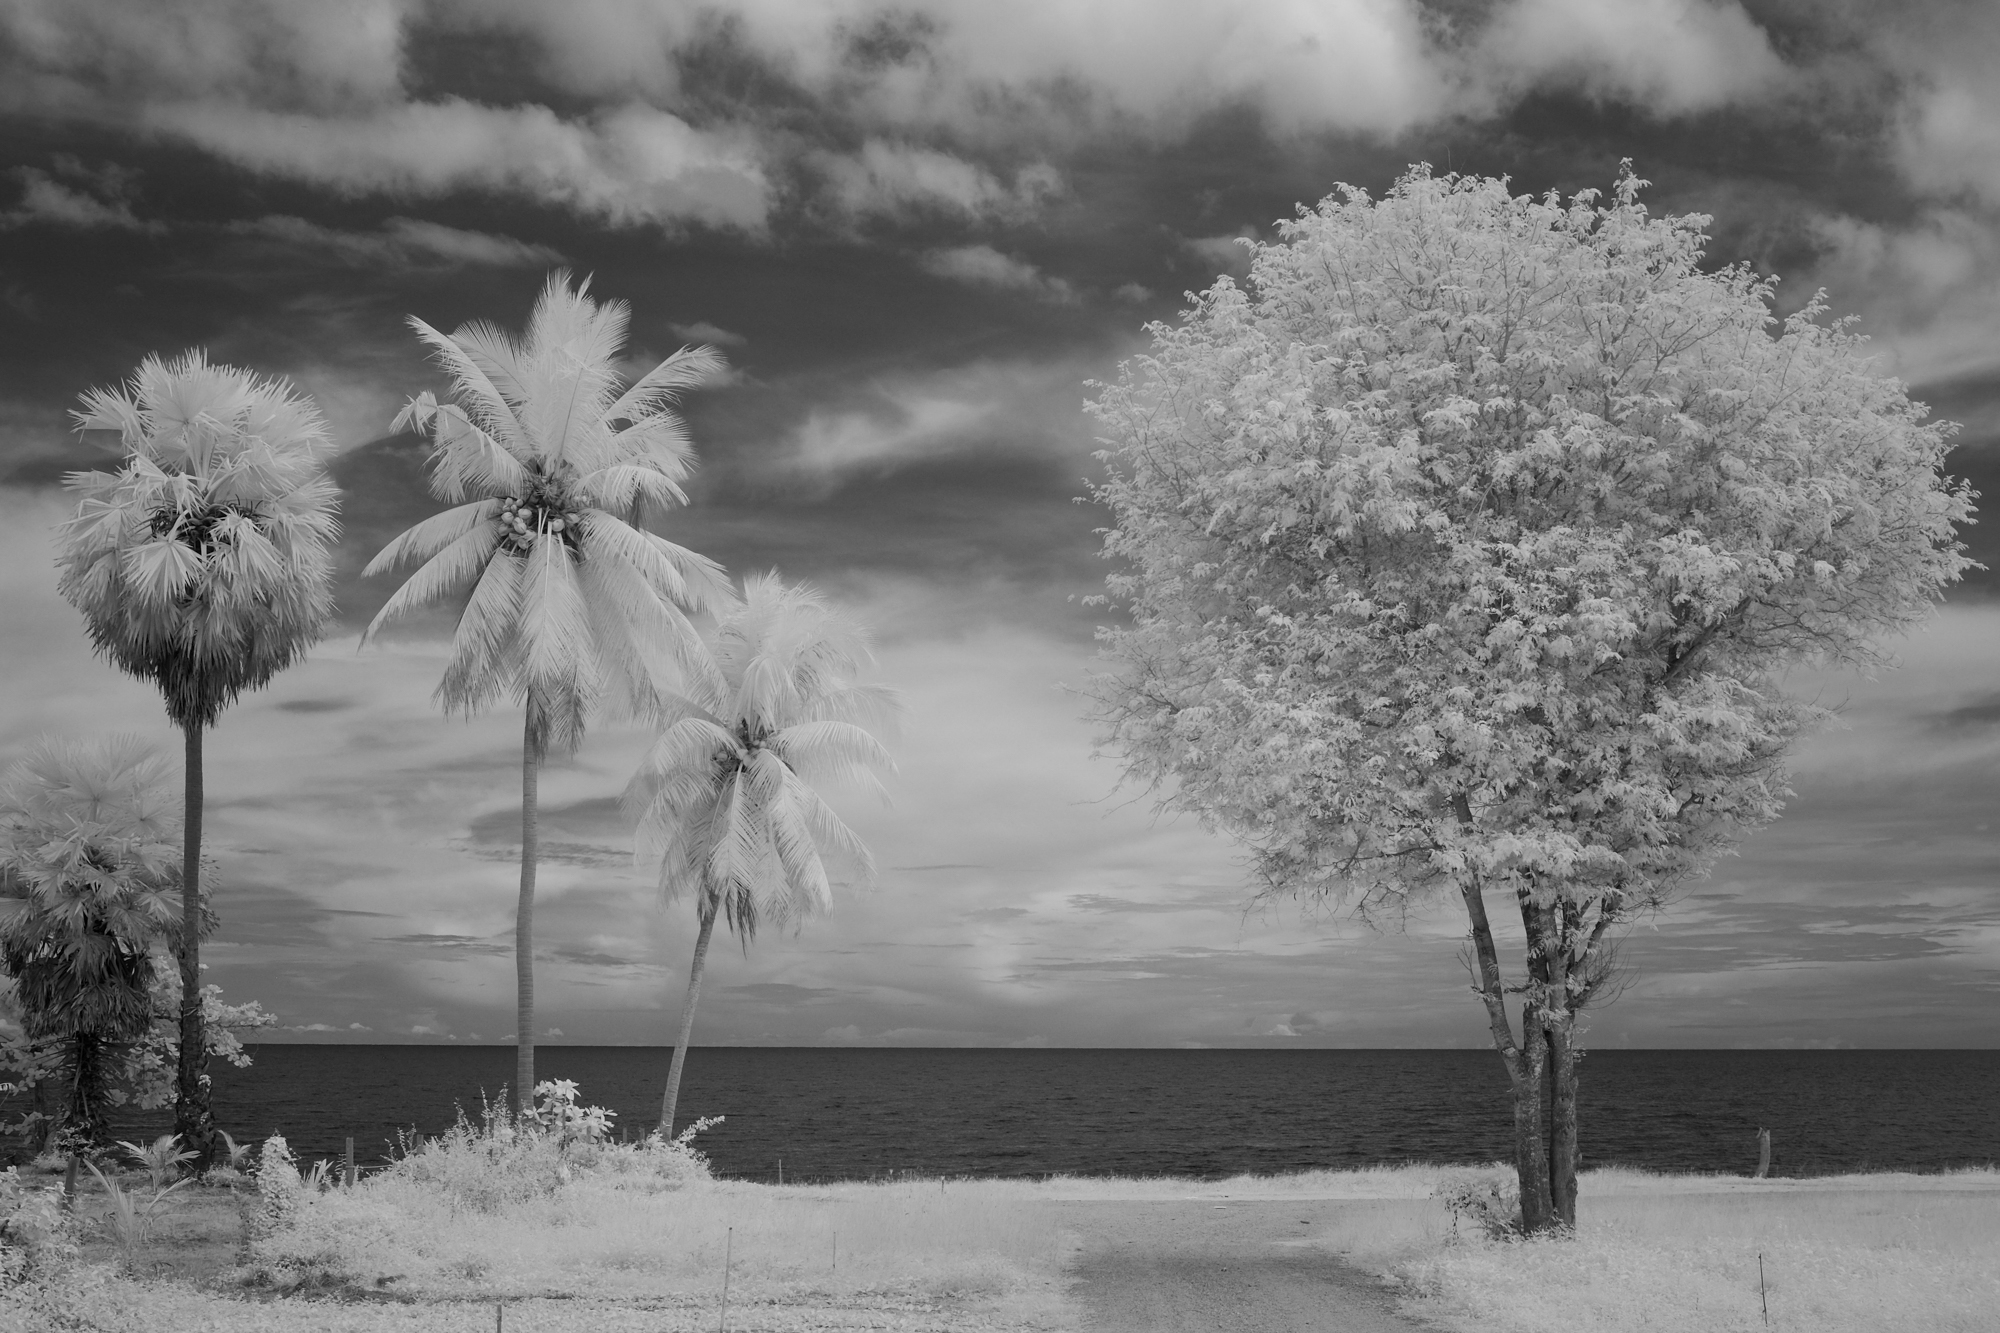
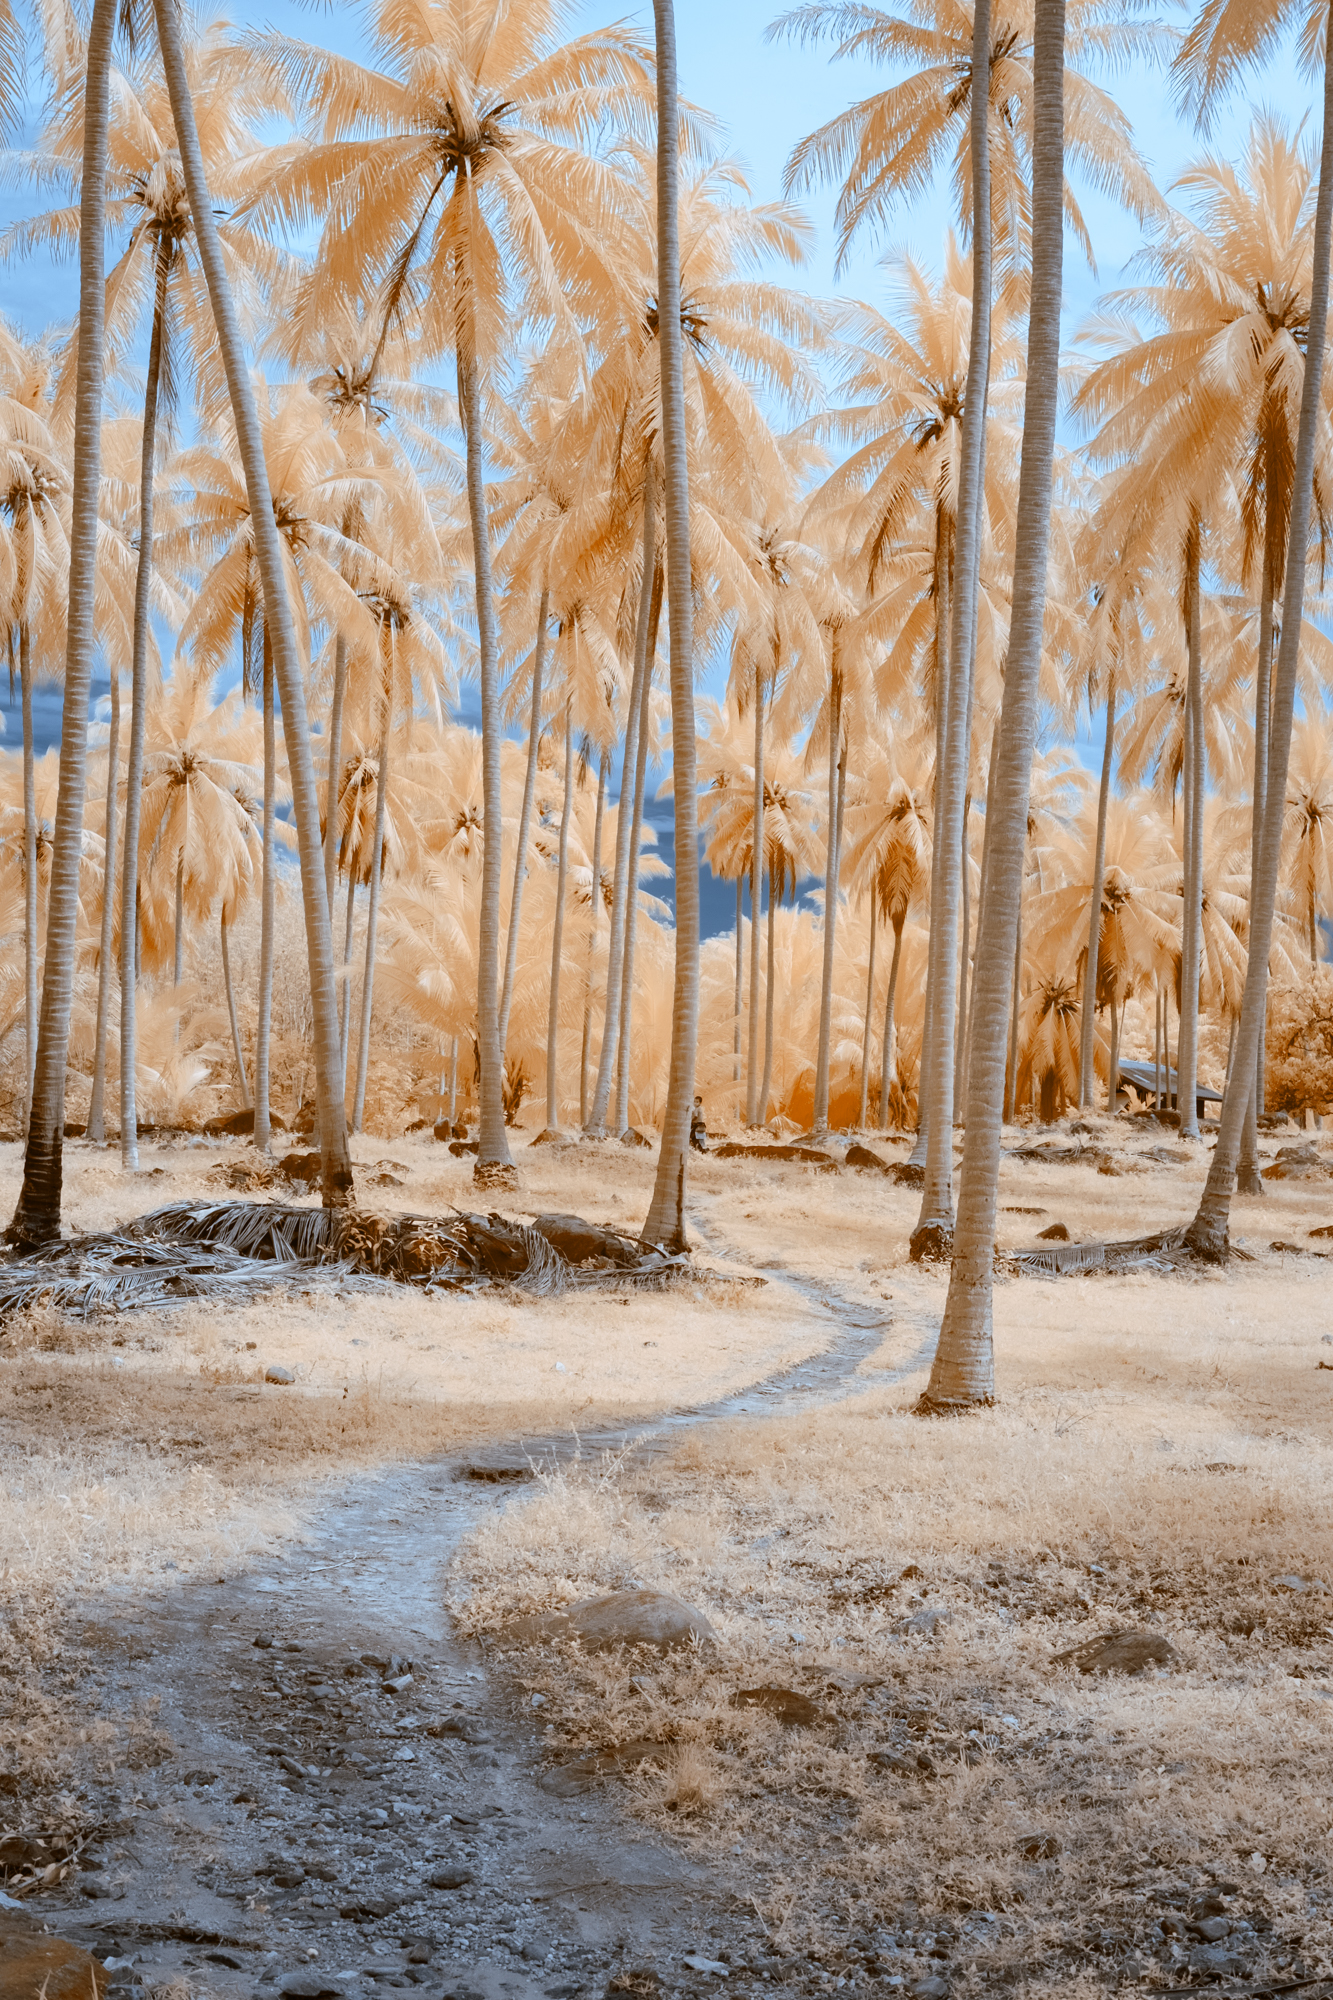
Infrared photography can seem like a technical minefield when you delve beneath the magical light of the great unseen. Here are my experiences of jumping in feet first.
No doubt you’ve all seen infrared photos around and some of you may have been stopped in your thumb-flipping tracks for a moment or two by them, while others may have taken an instant Marmite-like distaste to these faux colours or negative-like black and white images, almost as if it’s an impure betrayal of the art of photography. Strangely enough, you may even have come across YouTube videos of newly converted infrared shooters talking about IR as a new form of photography, which, I’m sure, would have the likes of Ansel Adams and those who dipped into the other light way before him chuckling in their graves. Infrared photography has been around almost since the dawn of photography and was not only used to create many classic landscape images by Adams himself, but also in forensics and even in the movie industry (both on film and digitally).
It’s more a case of certain IR looks becoming popular again over being a new thing, partly thanks to the retro-reborn ‘filmester’ sanctification of the highly rare and prized Kodak Aerochrome IR film, and to a lesser extent the Rolei INFRARED black and white film.
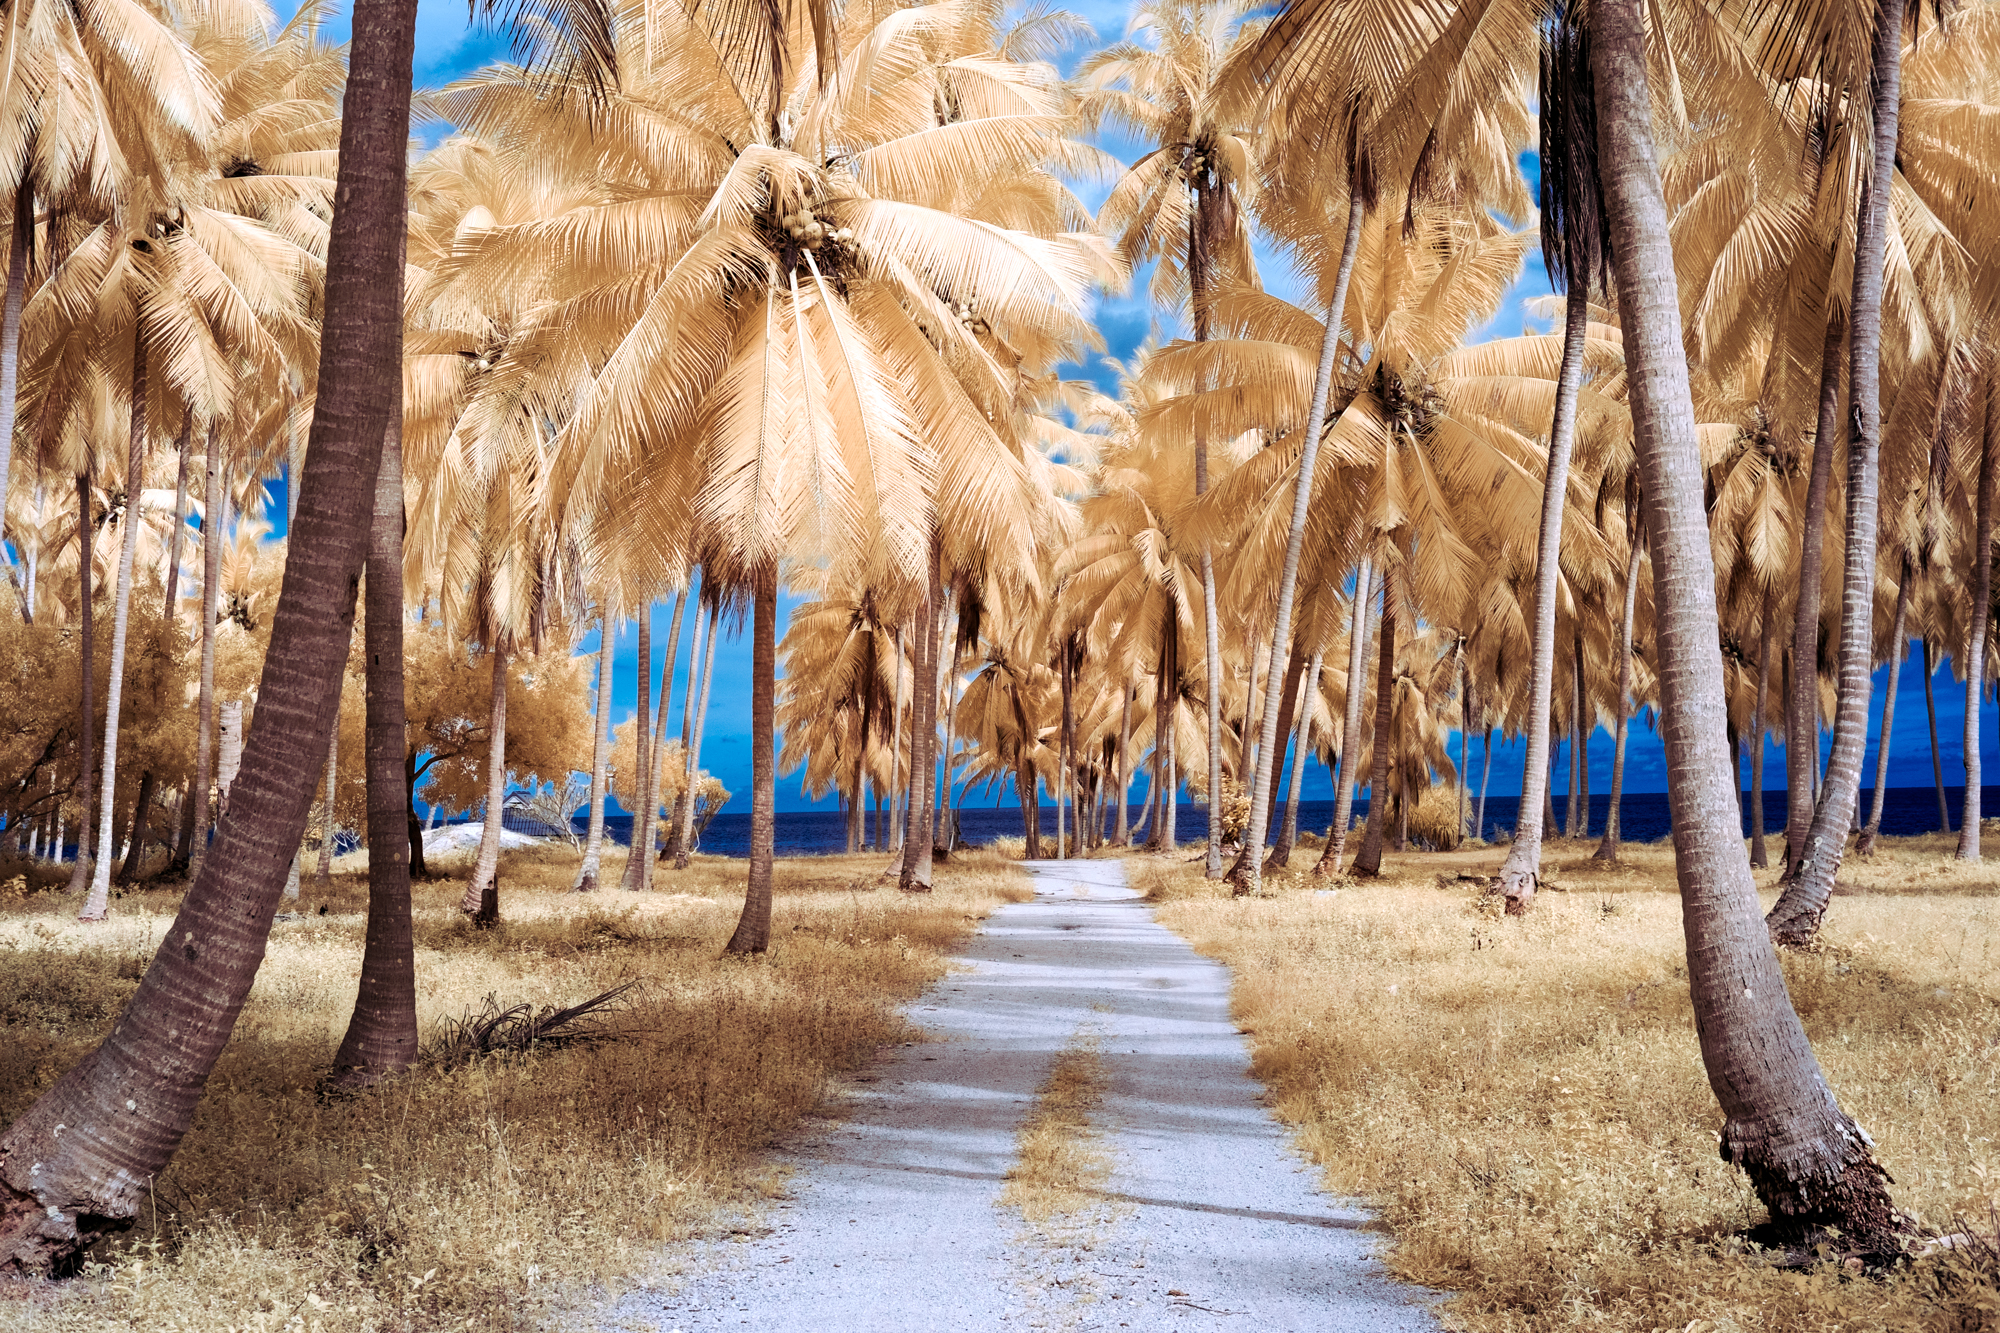
The red and blue Aerochrome look has been vaguely replicated by a few digital apps out there too and, of course, landscape photographer and YouTuber Thomas Heaton recently had an X-T3 converted to 720NM IR for black and white shooting, which has caused a bemusing rush by his followers to ‘get converted’ themselves.
Confusions & misconceptions
Up front, I am no IR guru or expert, but I have been shooting in IR (with filters) for some years now and have always had a fascination with the otherworldly images that can be produced, especially with the faux colour side of the spectrum. I have also delved incredibly and far too deeply into the technical side of IR, and that is just the problem – as soon as you start to do that, it can soon become mind-boggling and forbidding. It could seem that much of the IR information out there is over-complicated, which I guess is true with many things in life, especially in photography. Wading through all of this was no fun at all, especially for someone who really does not enjoy that side of life and who prefers to figure things out in their own way and without the excess of data.
Delving too far into the technical side of IR can be enough to stop you in the starting blocks and force you off the IR track altogether, and it did derail me for some time.
I’d been through the basics and the technicalities involved in processing a few years earlier and, unless you shoot pure black and white, there is no getting away from the fact that IR processing is (if you want the best results) a very time-consuming and, at times, frustrating side of the genre. If you do not fancy more computer time, IR is probably not for you, although there are a couple of loopholes in that clause.
The basics
In an attempt to simplify things and without going into the light spectrum technicalities, infrared light is all around us – well, far more so during the daylight hours, and especially so during bright sunshine. Our camera sensors are topped with various filters to block out infrared and ultraviolet light, otherwise we would have cameras that would capture all this light and produce unusable images.
When a camera is converted for IR photography those filters are removed and are generally replaced with another filter, which allows them to capture IR light while also blocking visible light, to varying degrees; the higher the NM number the more visible light is blocked out.
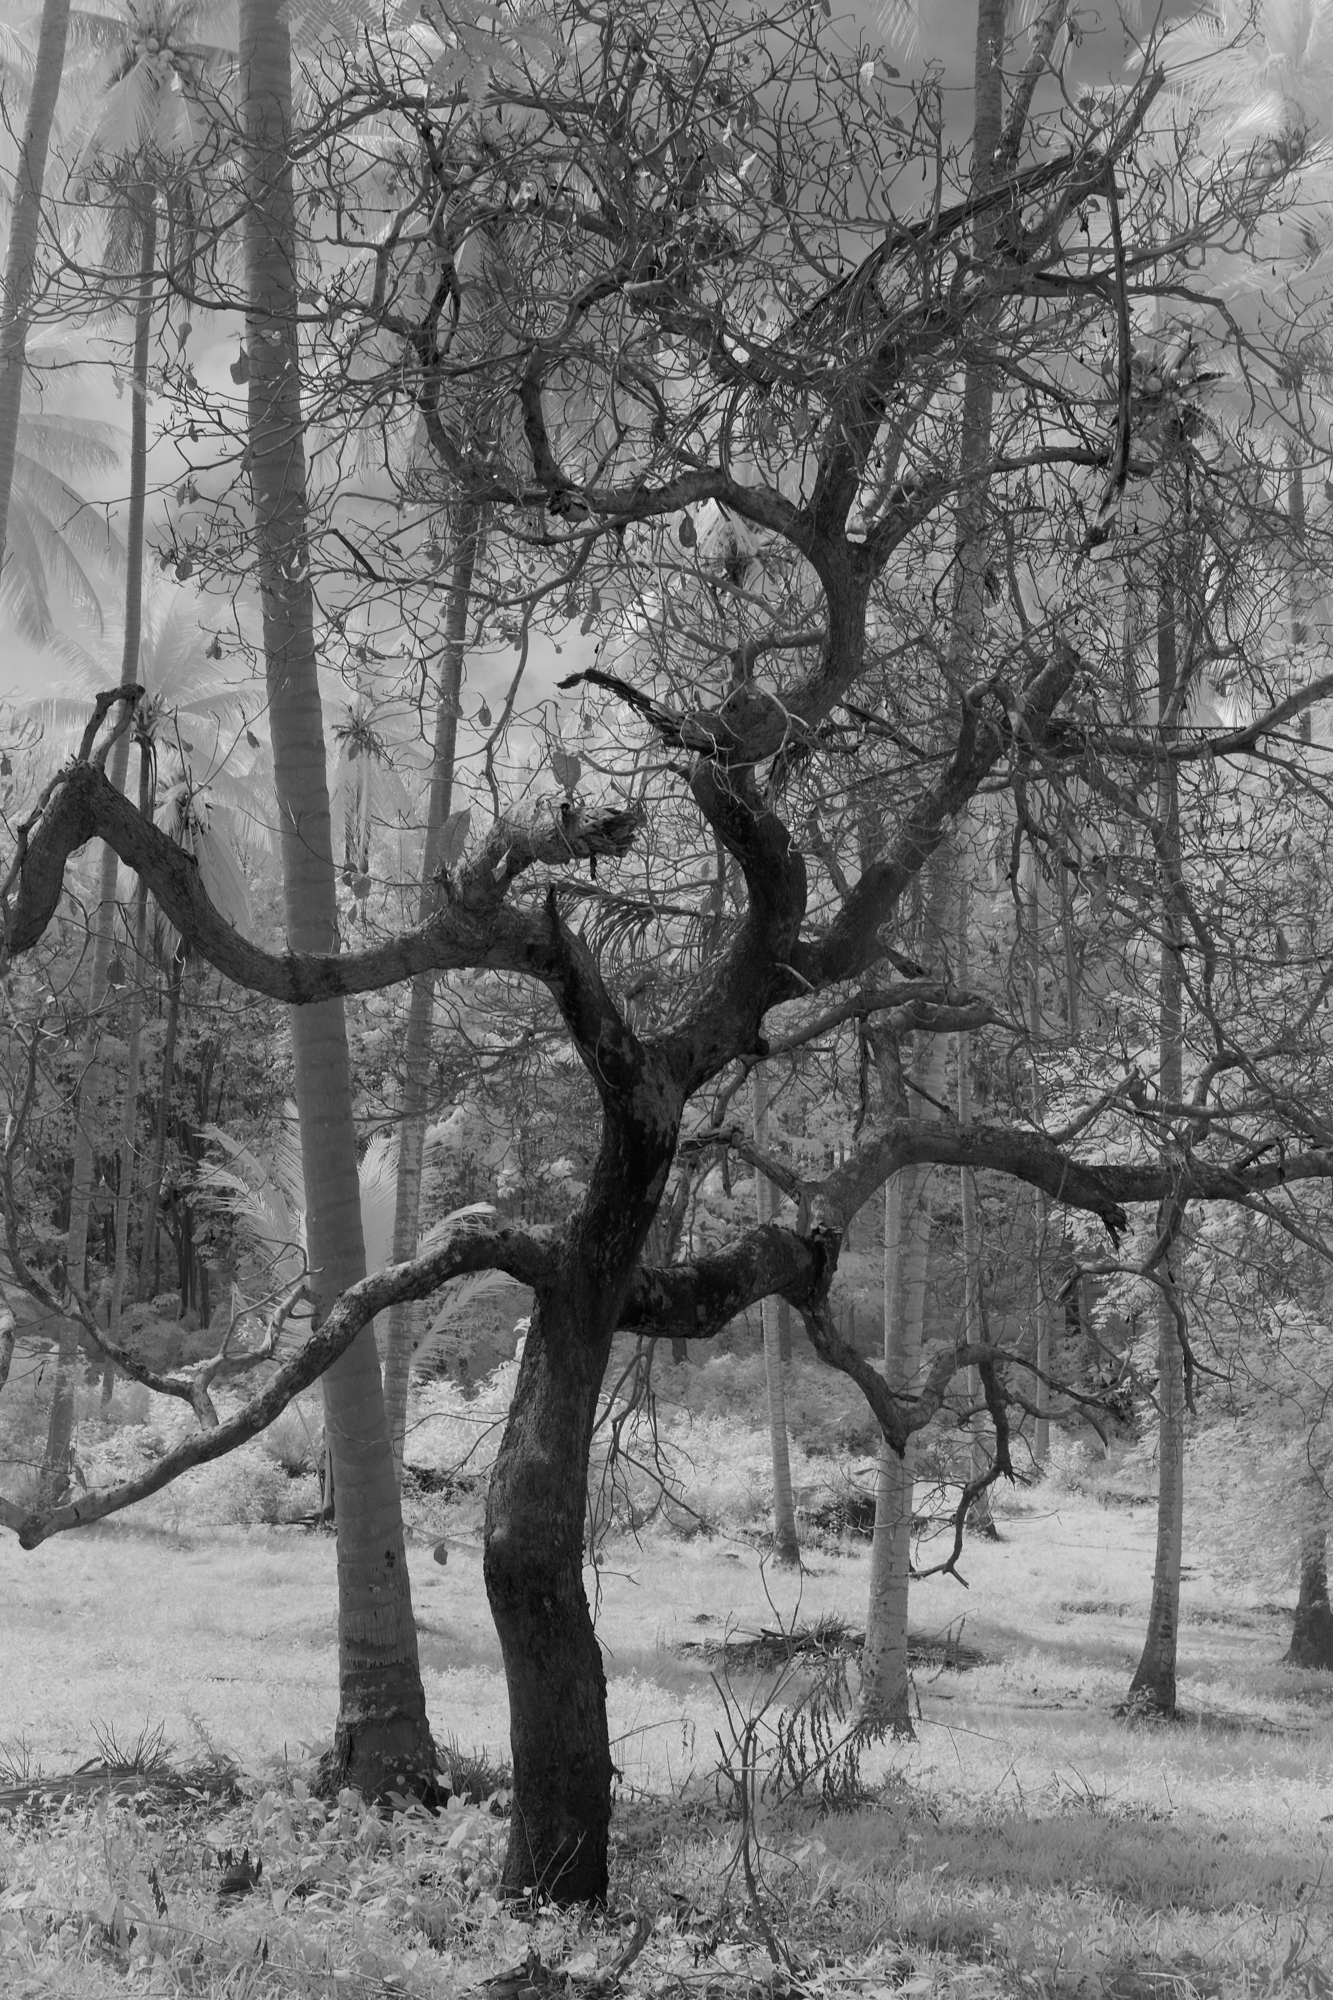
Infrared light in measured in nanometres (NM). Most consider 720NM to be ‘true infrared’ in photographic terms, as it blocks out most of the colour, allows IR light in and is primarily used for black and white images, and this is what many photographers have their cameras converted to.
There are various other options available for conversions, with 850NM up being used for pure B&W and with lower NM ranges allowing more IR light in, and as such being open to false colour conversions, with 590NM perhaps being the most versatile IR option (you can always convert 590 images to B&W too). However, there are other options for conversion – options that make far more sense for most photographers but that do work out more costly and time consuming overall (as you need to buy and use external filters).
Seeking conversion
For a few years I’d been looking into getting one of my older X Series cameras converted but I was unable to find a viable option in my region of Asia and so eventually I shelved the idea. I’d been shooting with a 720NM filter on and off, and had had good results. However, the problem is when adding that near-full-black IR filter to a lens that you have to go the long exposure route; I wanted a simple handheld solution and to also be able to produce the faux colour IR images that had fascinated me.
Eventually, in a quest to find the best filter options, I contacted Kolari Vision in the USA, who are one of the most respected authorities when it comes to camera conversions and IR filters. Their website is a mine of practical and understandable IR information, and, after a few emails, I realised that it would have to be a conversion if I wanted colour and/or handheld images, and thankfully they pointed me towards a full spectrum over a dedicated IR conversion.
Full spectrum pretty much sums it up: it removes all the sensor filters and replaces them with a clear glass filter, meaning that the camera sees all light bands. This means that you need to attach filters at different NM ranges to use it effectively, and you can also delve into UV and astro photography as well as IR. Plus, you can even add a filter to shoot regular images too, all handheld, which was just the ticket for me.
Depending on the camera and how fast you want it converted, the process costs around US$300 to do. You will want to add good quality filters on top of this; I would recommend staring with a 590NM and 720NM. This means you can take the simple option of shooting 720 black and white IR in camera by using the Fujifilm film simulations, as well as dipping into the world of channel swapping and processing with the 590NM and other filters.
How difficult is it?
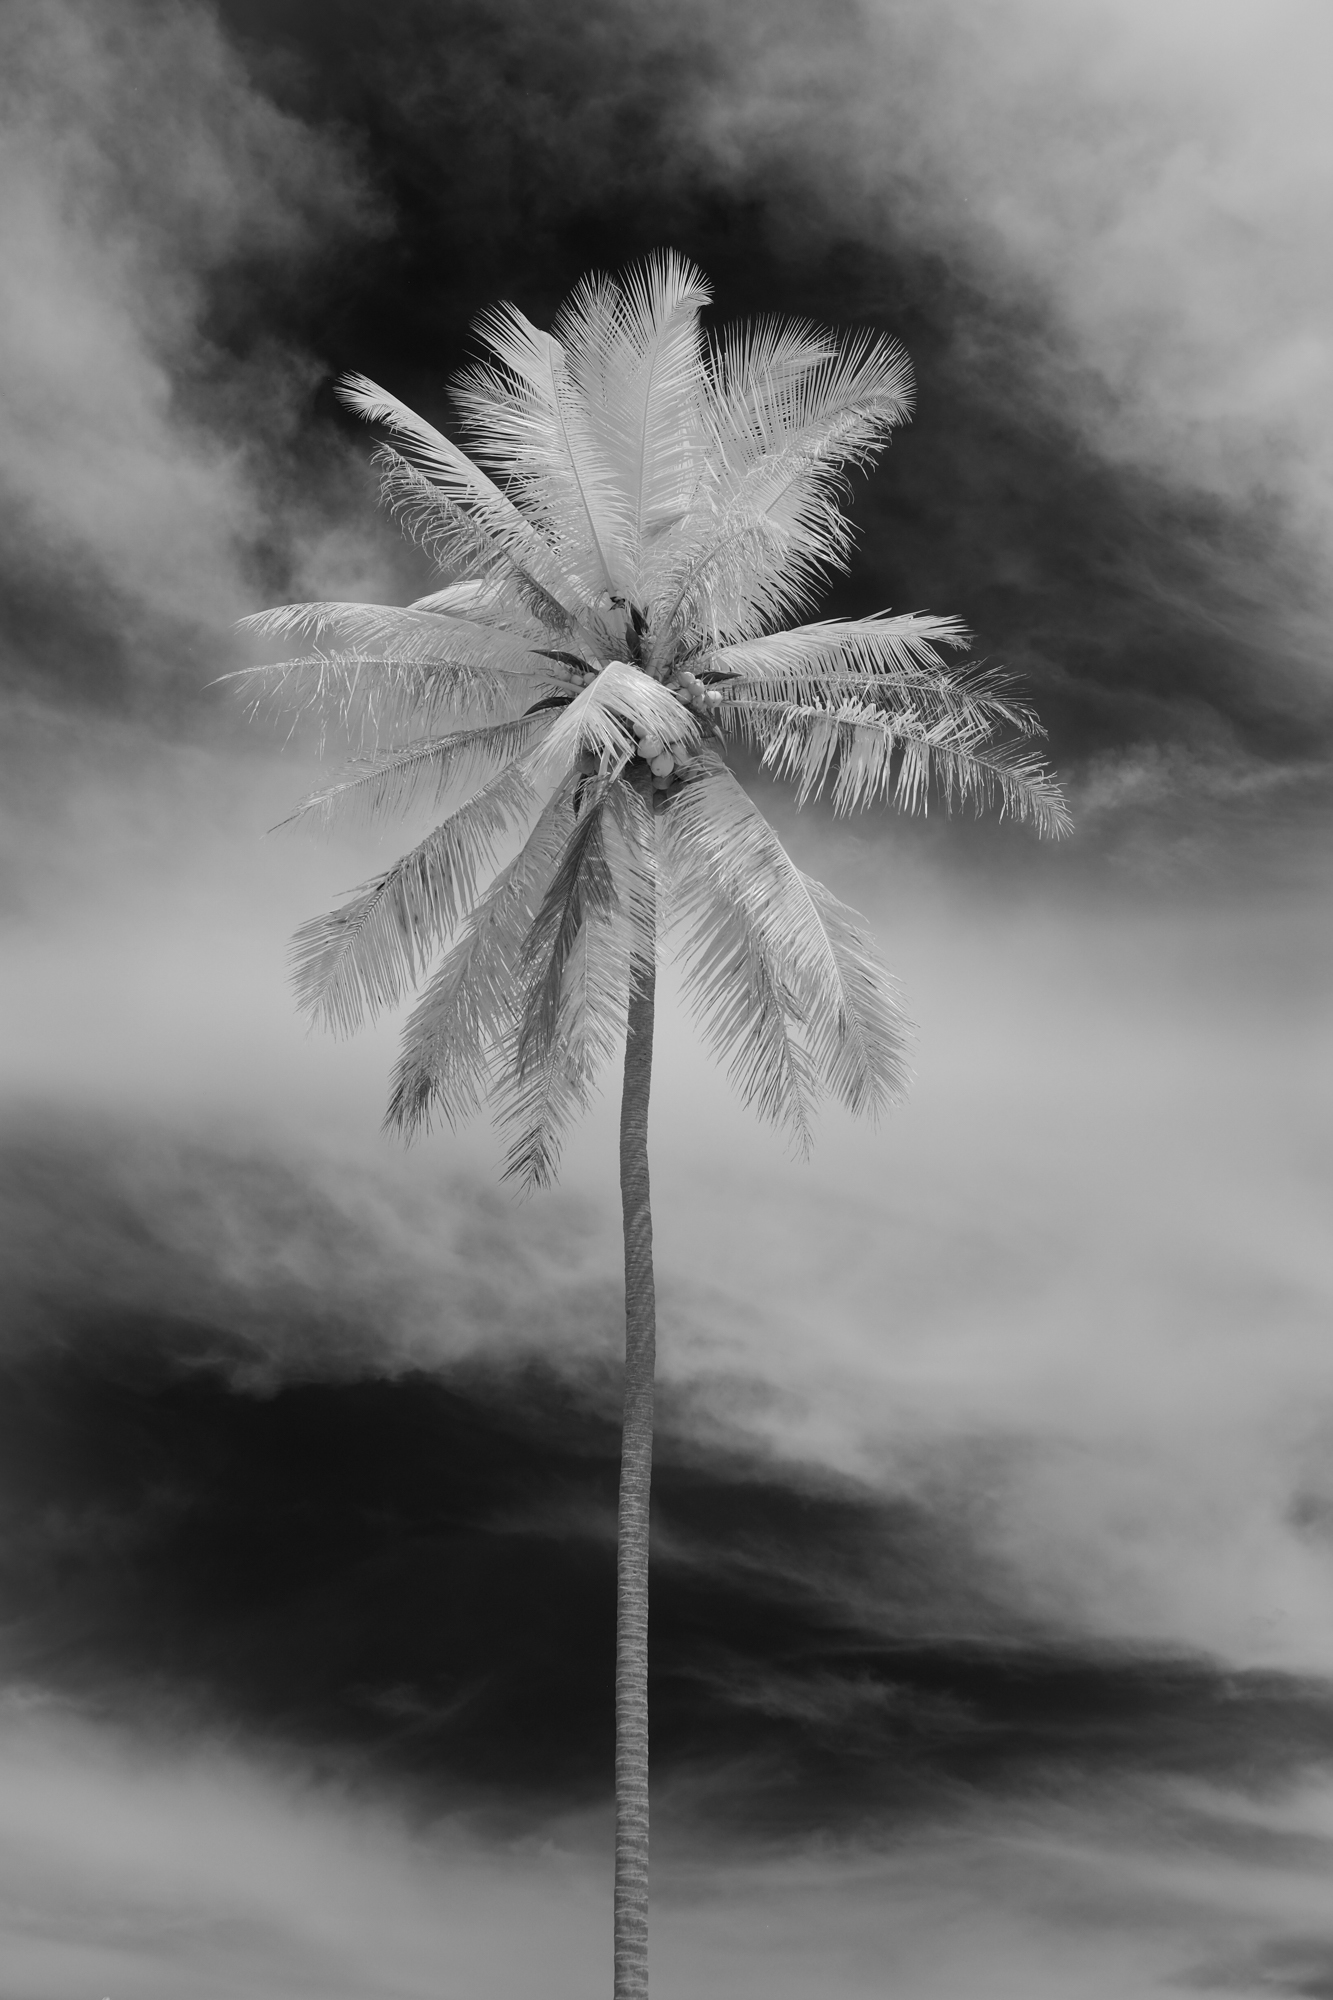
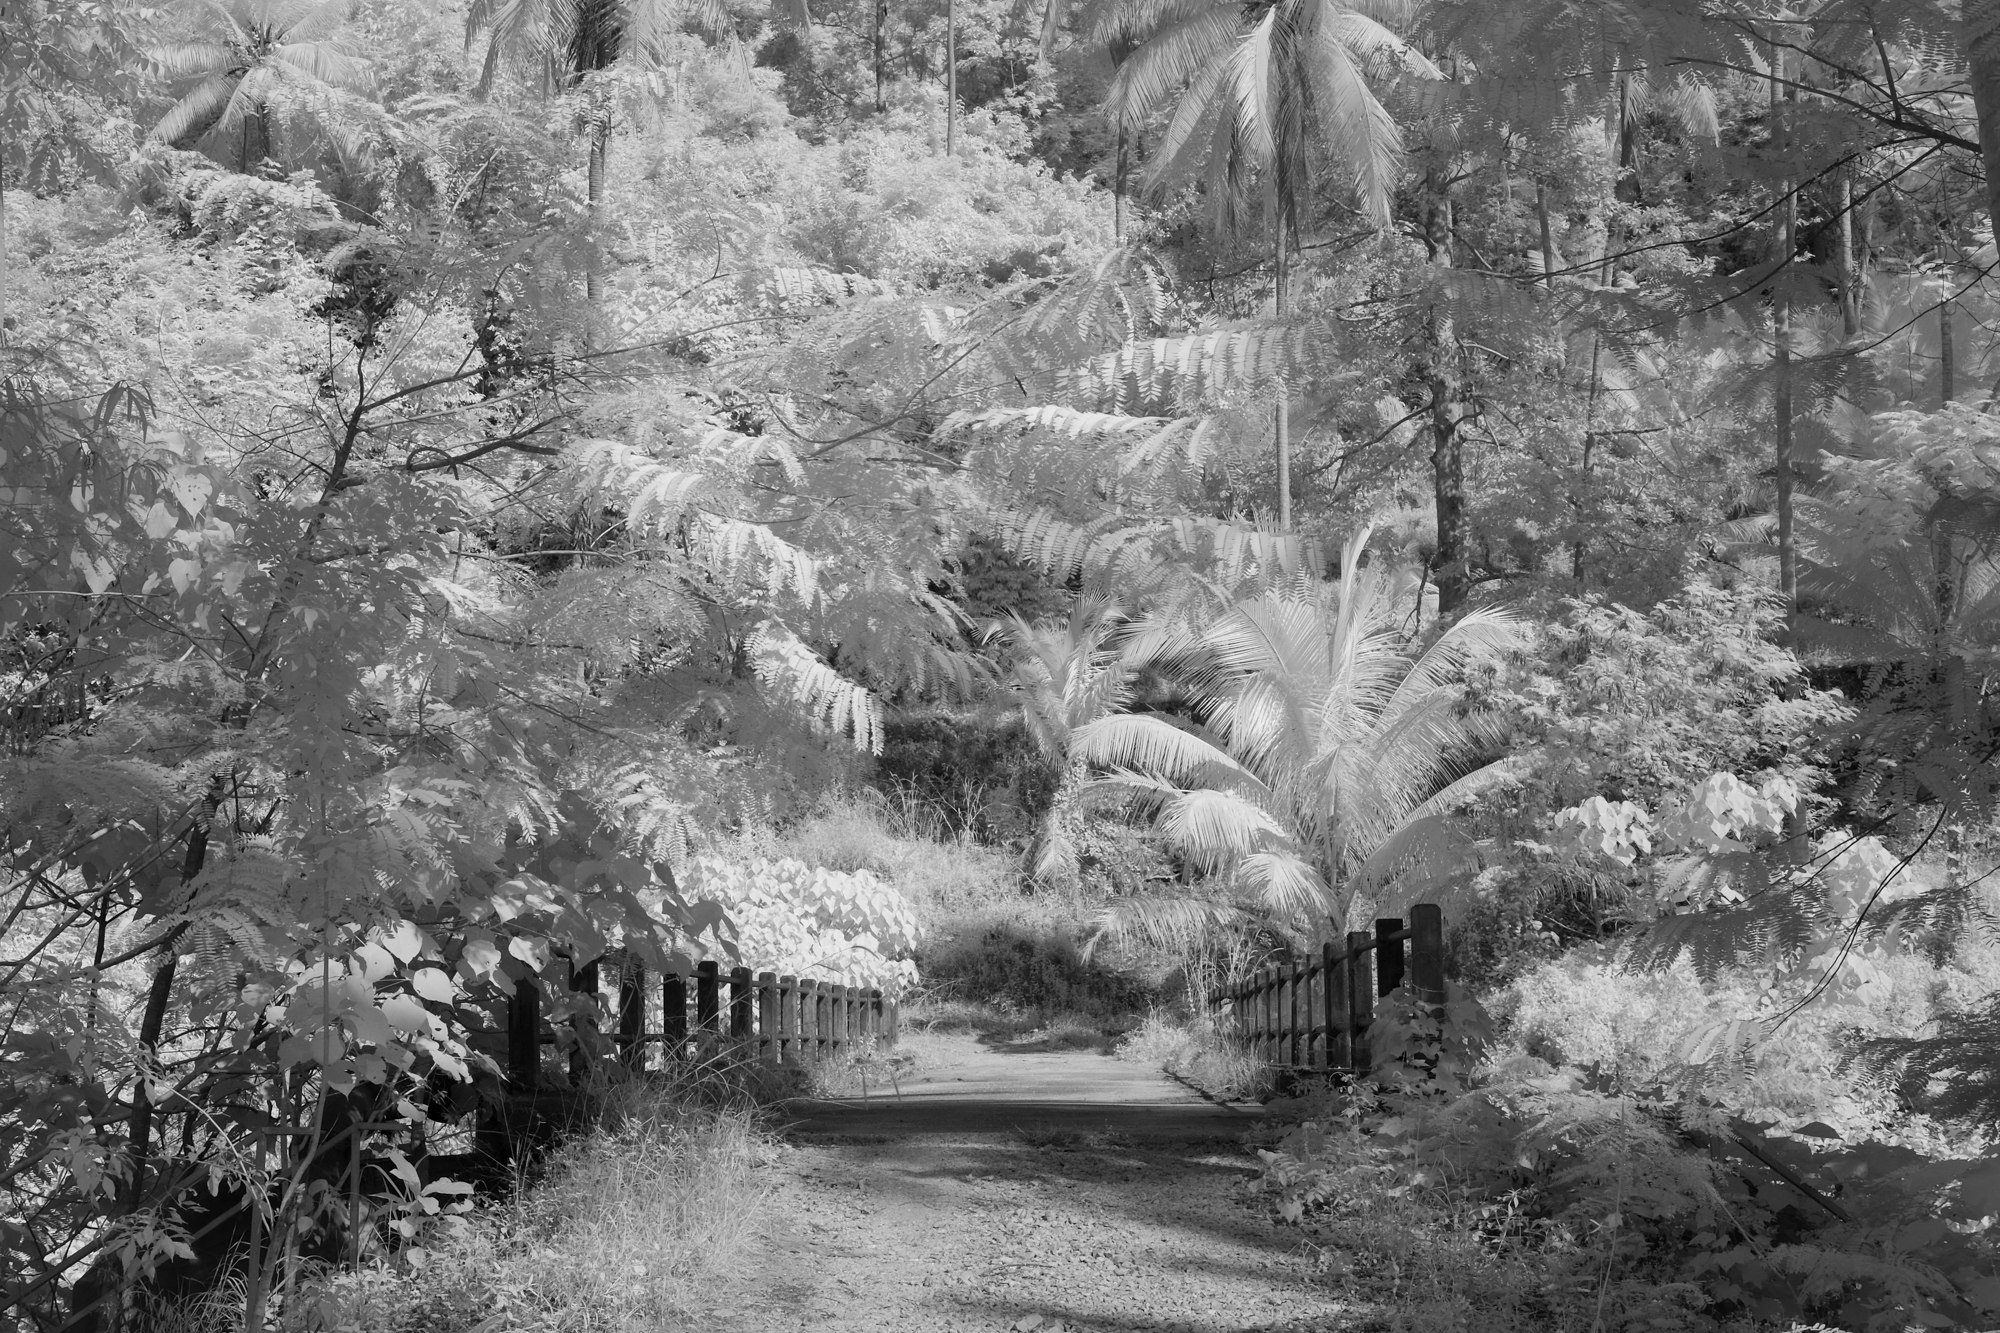
Although purist IR photographers may roll their eyes at the notion, if you use a 720NM filter on an appropriate lens with a custom white balance and film simulation, you can produce a pretty good black and white IR image in JPEG straight out of camera, although tweaking it in post will help increase the contrast to taste. If you want to push processing a little further, you will need to follow the same RAF image channel swapping process as with a 590NM or other lower NM filters.
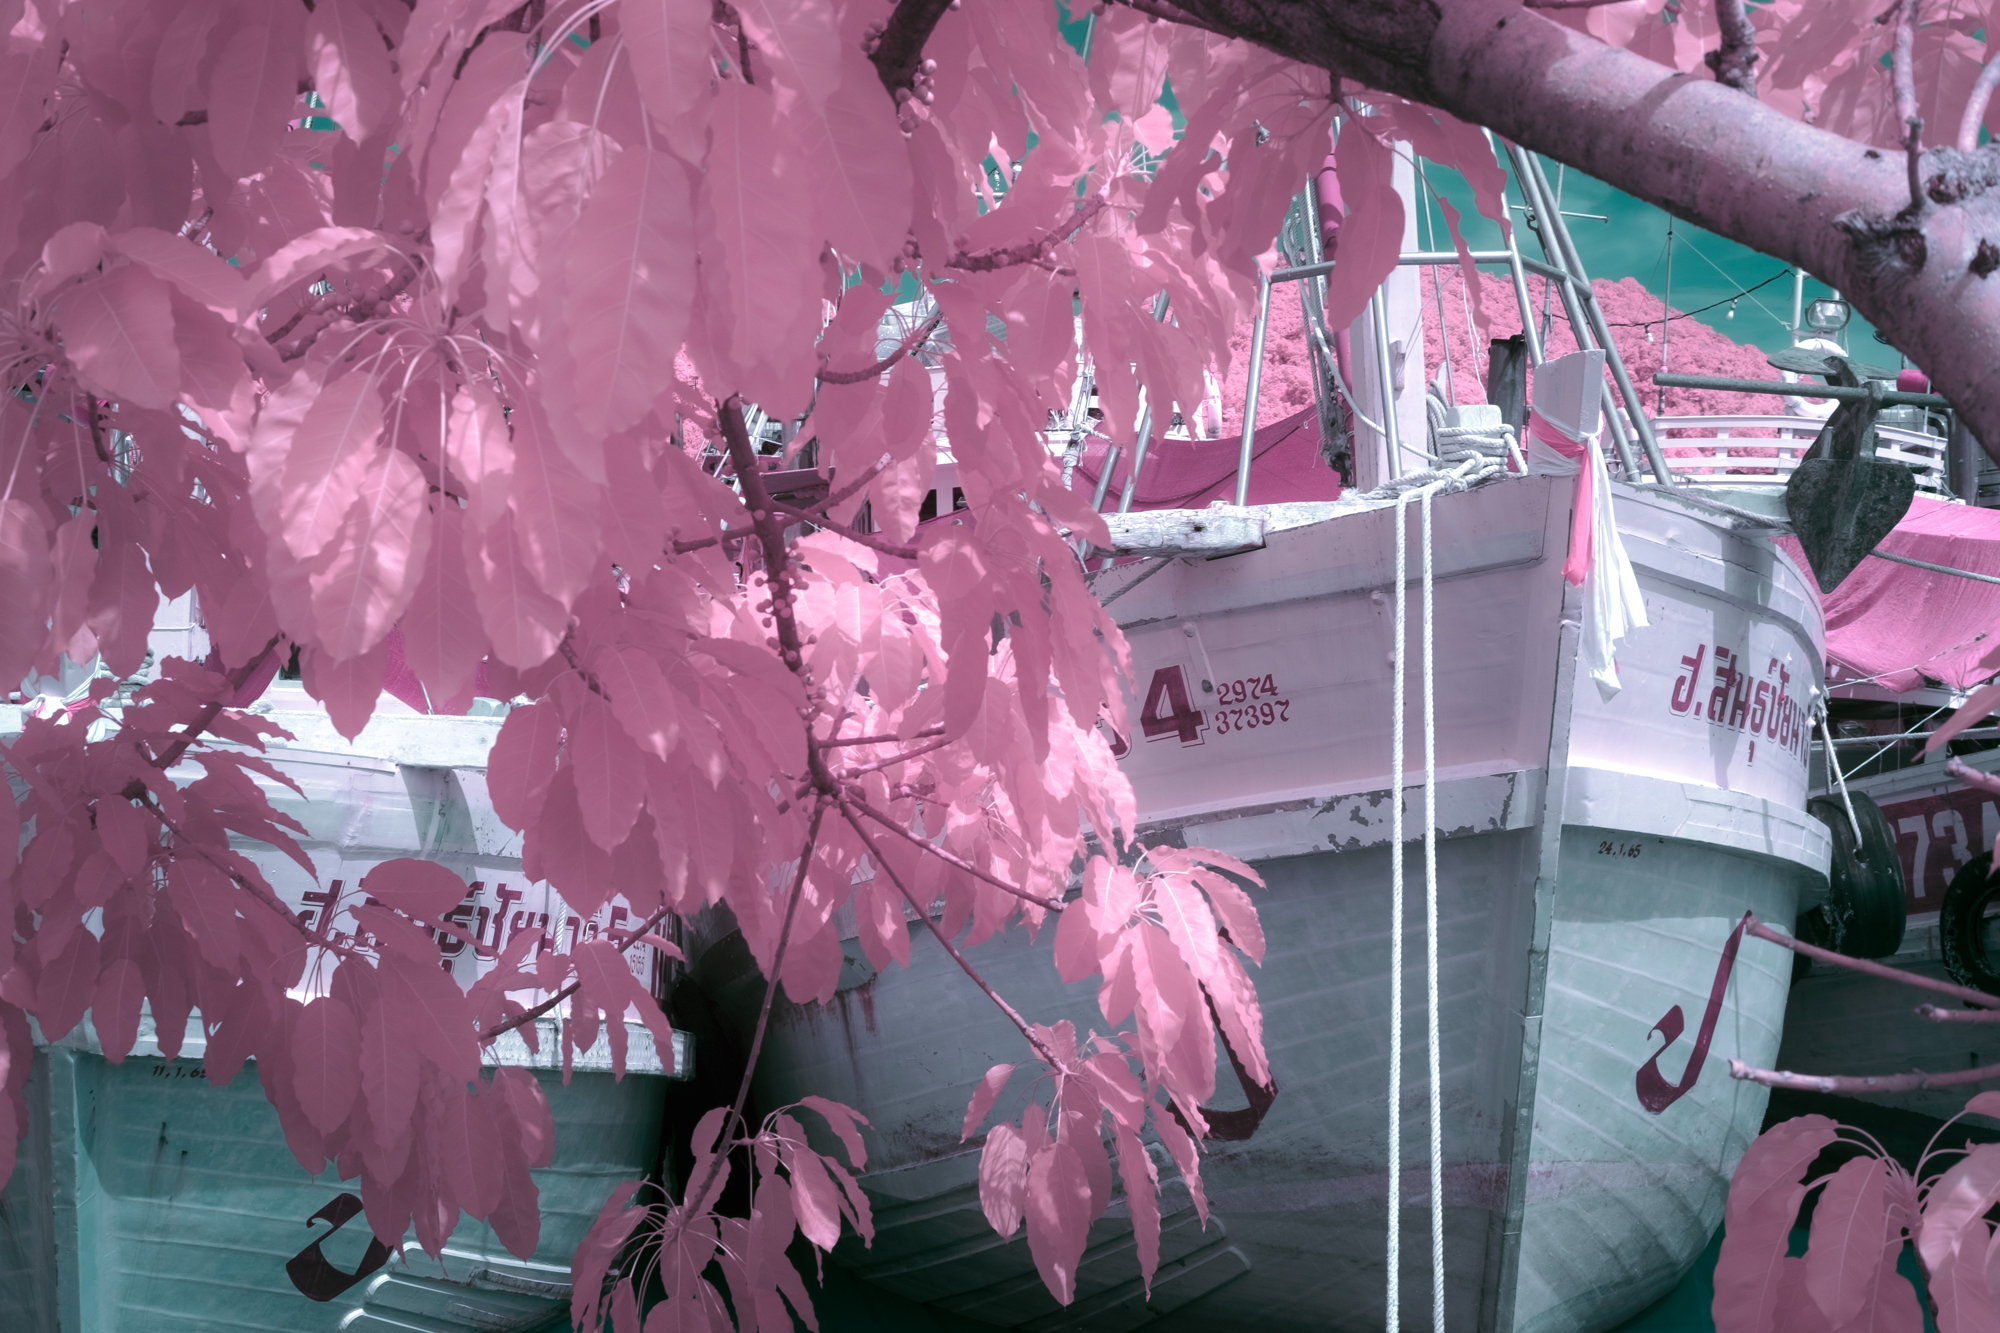
An IR image straight out of camera comes out red, purple or pink, depending on white balance and the NM level of the filter (apart from B&W, as above). In order to process the images, you will need to create a camera profile to extend your white balance range and then swap red and blue colour channels in something like Photoshop (other software, apparently makes this process easier).
All sounds messy? Well, it is, at least at first. But there is easy to follow information on getting started on various sites and YouTube channels, including the Kolari site.
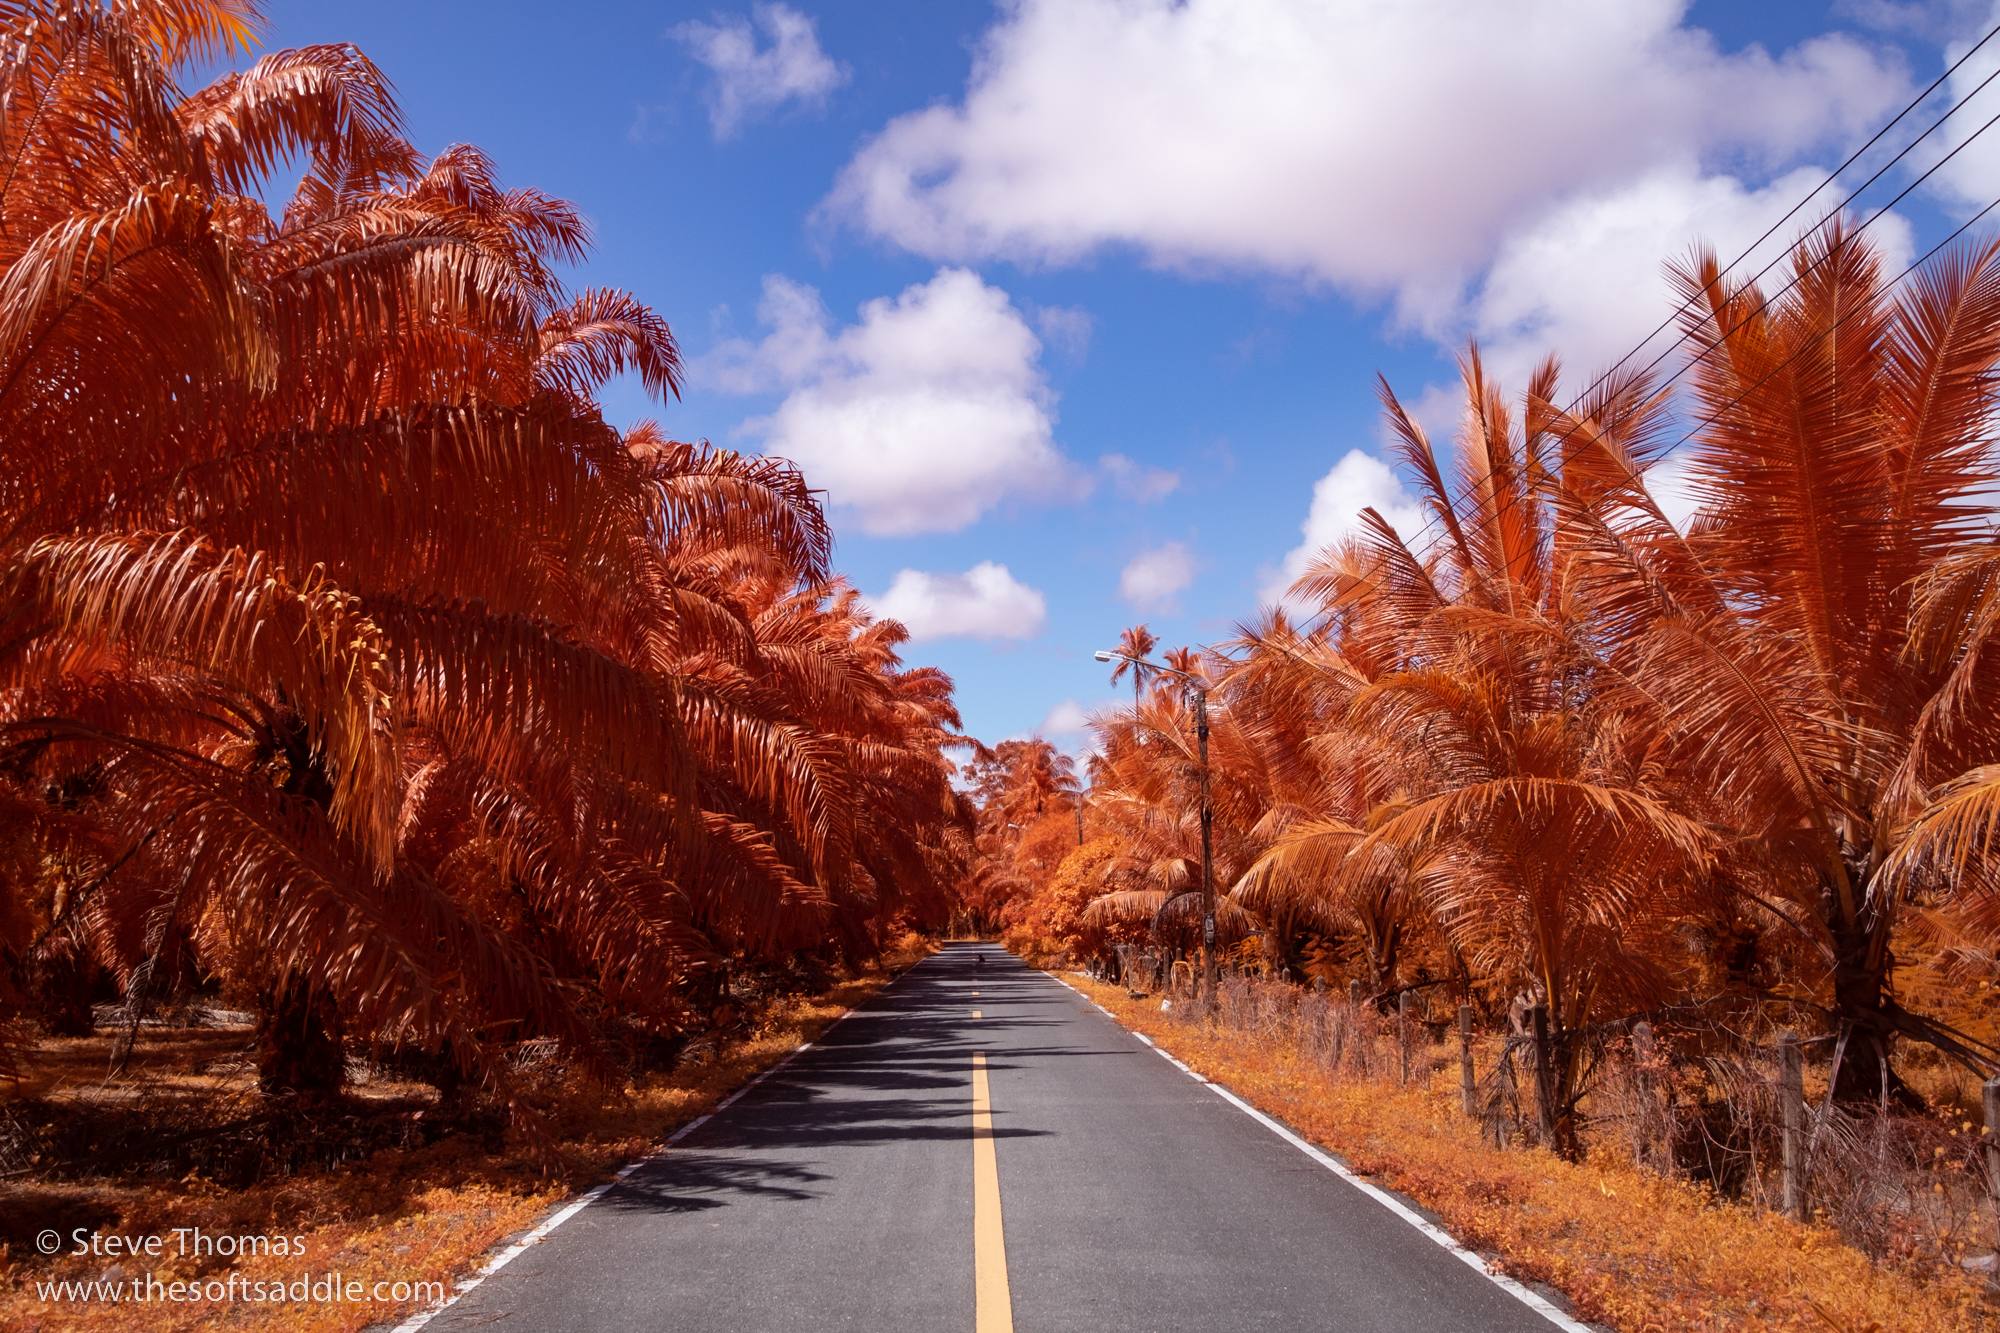
There is also another colour IR option, at least if you’re after that classic Aerochrome; the Kolari IR Chrome filter, which, when custom white balanced and correctly used on a full spectrum converted camera (only), will give you that look in both JPEG and RAF in camera. For me, this was mind-blowing to see and it gives a far cleaner image than any of the simulations or software I’ve tried.
Bottom line learnings
If you’re on the fence about IR then start with a decent but cheap 720NM filter and grasp the basics first to see if IR is for you. If you go for a conversion, Kolari are without doubt a great option (if you are outside of the US a good local option is worth considering) and I would advise on going the full spectrum route over pure IR.
Do check and read up about lens hotspots too (reflected light blots), which are a bane of IR photography; Kolari have a detailed listing of Fujinon lenses that do and do not work well for IR.
However, Kolari filters do also have a good anti-reflective coating (or so I hear and have found from the two I have), which drastically reduces these hotspots. This, along with the IR Chrome filter, meant that I could use my 10-24mm and 18-55mm Fujinon lenses without hotspots, which was a huge plus (as they are reputedly bad for hotspots) and this saved me buying into dedicated ‘hotspot free’ lenses (which I was about to do).
Infrared photography may not be for everyone, and it’s not something that you’d probably want to do all the time. You pretty much have a free artistic hand with how far you want to go when it comes to post-processing colour IR and that may displease some (who, incidentally, are usually the most vocal out there), but what the heck! Photography is all about personal taste and artistic expression, or at least it should be.
There is a steep and twisted learning curve and a technical minefield to overcome with IR photography, but once you grasp the basics then the world is your psychedelic oyster – or not, as the case may be.
Happy Christmas and may your 2023 be bold and bright, or even black and white.
Be sure to check out the Kolari Vision website to learn more.


